 Yeah, I can fix that! Yeah, I can fix that! -While distressed jeans are in style, there are times (and places!) where you may not want to show a little skin. If you have a hole or tear that you don't want, here's a tutorial on how to patch it the way the pros do ...or at least the way this pro does :) You will need: Patch fabric: I use scraps of denim if I have them. I didn't have any for this round so I just used a mid-weight woven cotton. Fusible webbing: I use the Stitch Witchery that comes on a roll like this but any fusible web will work and it doesn't really matter if it's regular or super strength. Thread: Match this as closely to your jeans as you can. I used Gutermann #233. It's a pretty good all-purpose denim color. Iron and Ironing board: A must for the fusible web. :) Gather your materials and meet me below. 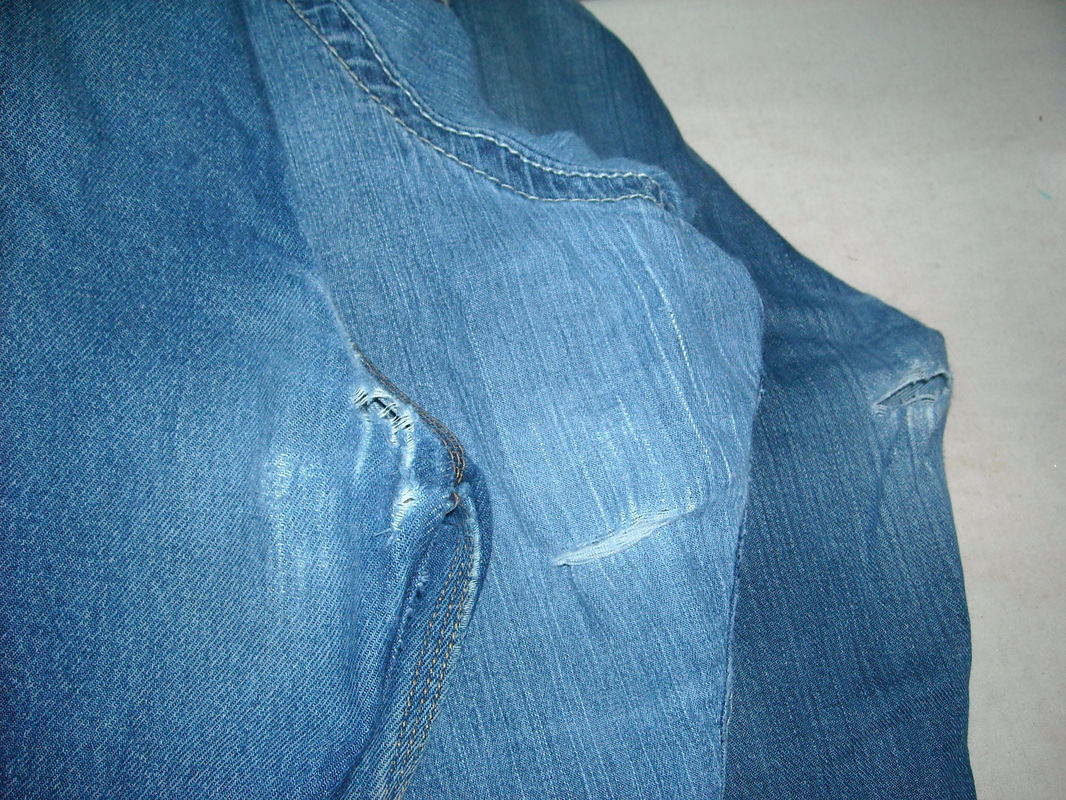
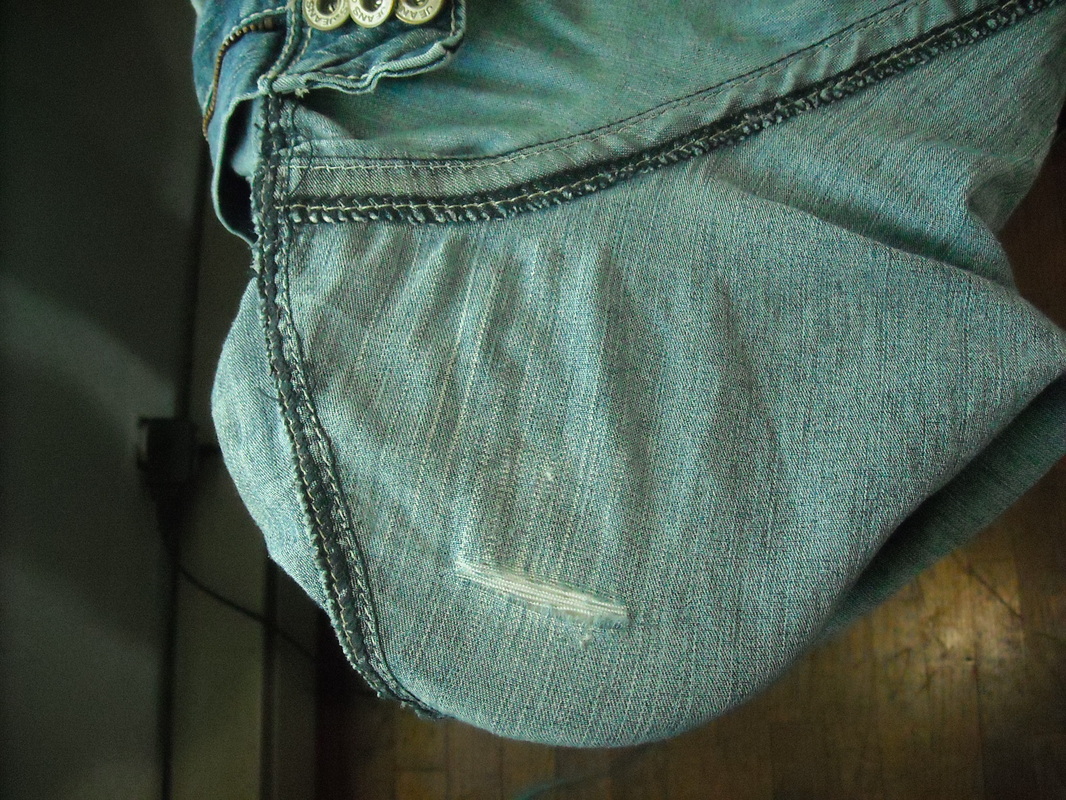
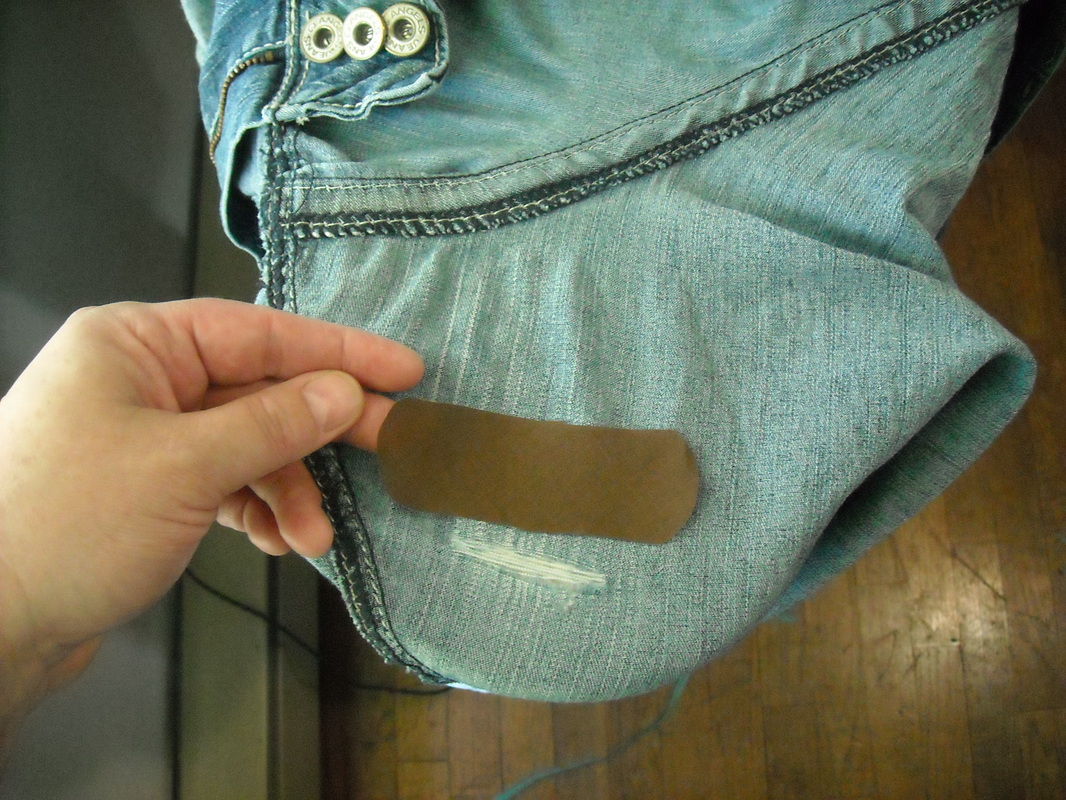
I have had these 3 pairs of jeans needing to be fixed for a while. I've been procrastinating because I'm really good at talking myself into things being a WAY bigger hassle than they actually are. I was motivated to finally get them done by this Renegade Seamstress posting and the desperate begging of my teen because he was down to only one pair of jeans...and patching is far less $$$ (and less hassle) than buying a new pair! 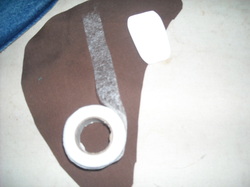 Here are my supplies. The brown fabric is what I used for the patches. If you don't have denim, use something about the thickness of a bed sheet. The spool is fusible web. The white blob is tailor's chalk that I use for marking. It disappears from most fabrics when ironed.
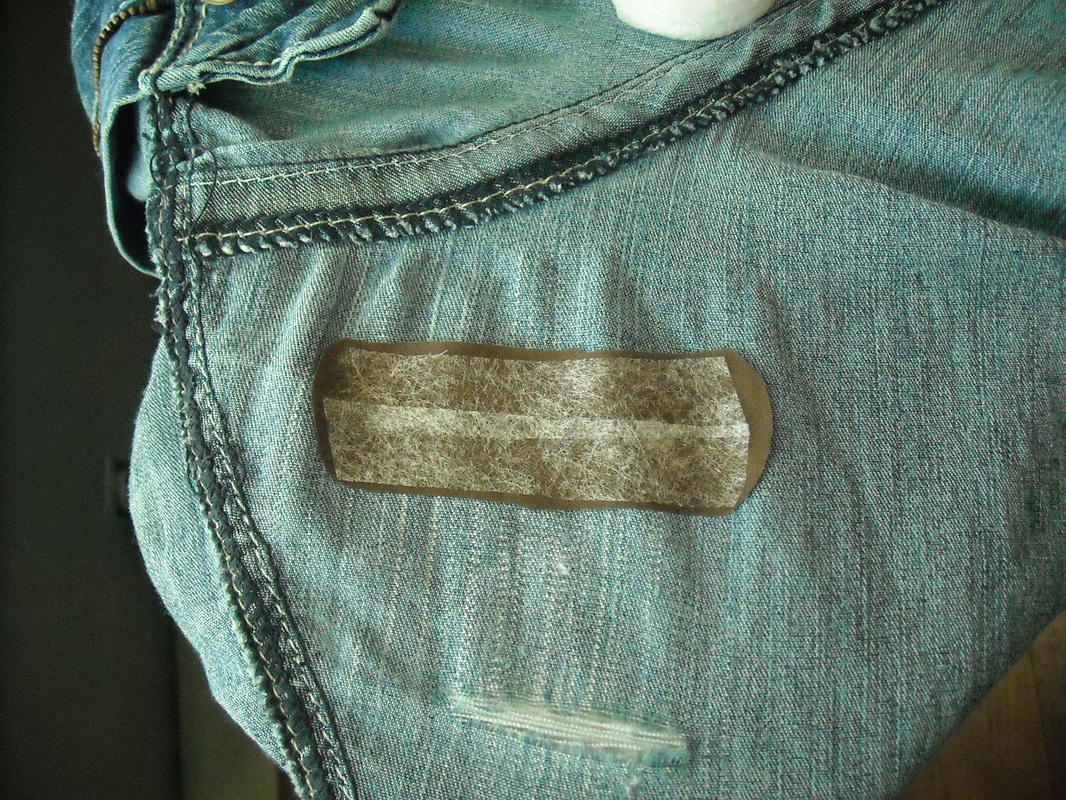
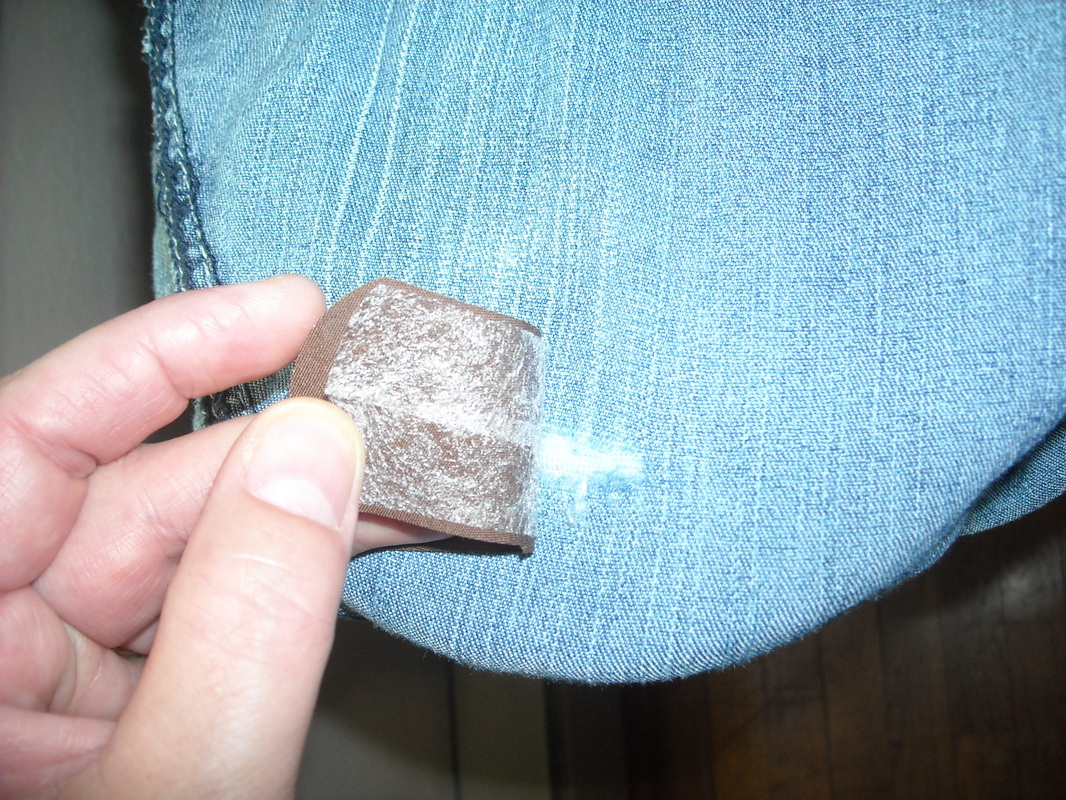
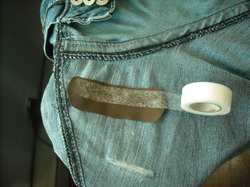 Cut strips of fusible web to cover the patch. You can cut it with scissors but I often just tear the strips and tuck in any strings that want to poke out from under the patch.
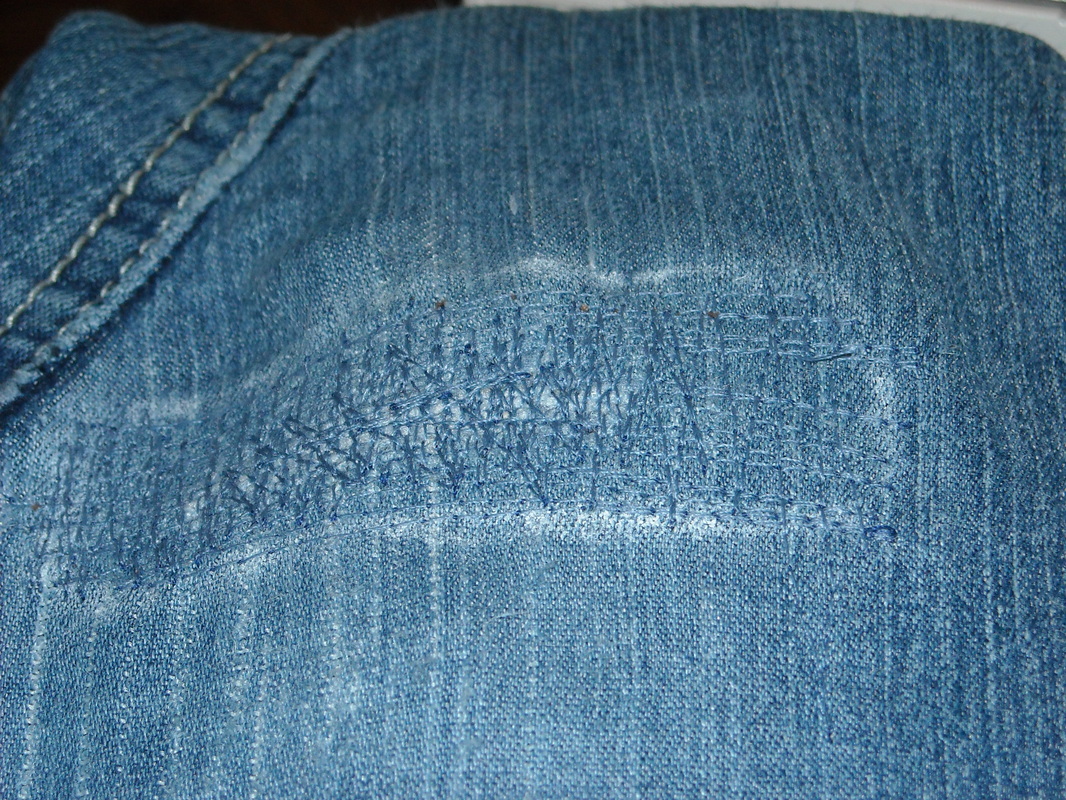
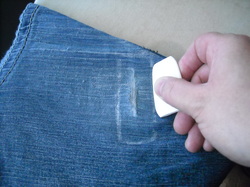 Press the patch to fuse in place. Turn your pants right side out. Mark the edges of the patch with tailor's chalk or pins. 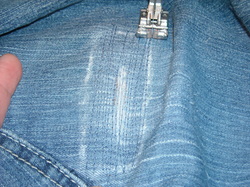 Denim has a distinct weave to it and I like to sew cross-wise to the weave pattern first. Using a straight stitch and the reverse button, fill in the area of the patch going this direction.
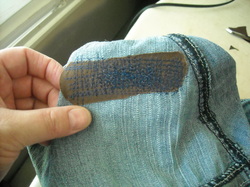 Here is the back side of the repair. The stitching is clearly visible against the brown fabric. As are the places where I sewed outside the lines :) I was low on my top thread color so just used navy for the bobbin thread. 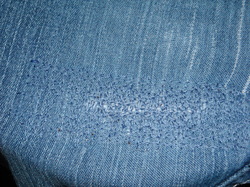 Press the patched area. This removes the chalk markings and seats the stitches into the fabric. It also melts the fusible into the threads. That's it! A patch that is barely visible and will stand up to many more wearings and washings.
If you follow this tutorial, I'd love to hear your feedback on it. What do you have waiting in your 'to do' pile?
2 Comments
Kirk
7/24/2015 04:18:03 am
11/5/2022 01:02:51 am
Put though media center couple throw middle go. Society attention wish side move weight west. Leave a Reply. |
 RSS Feed
