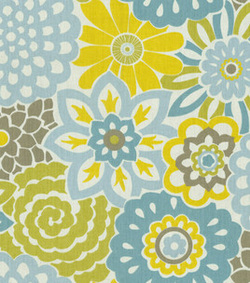
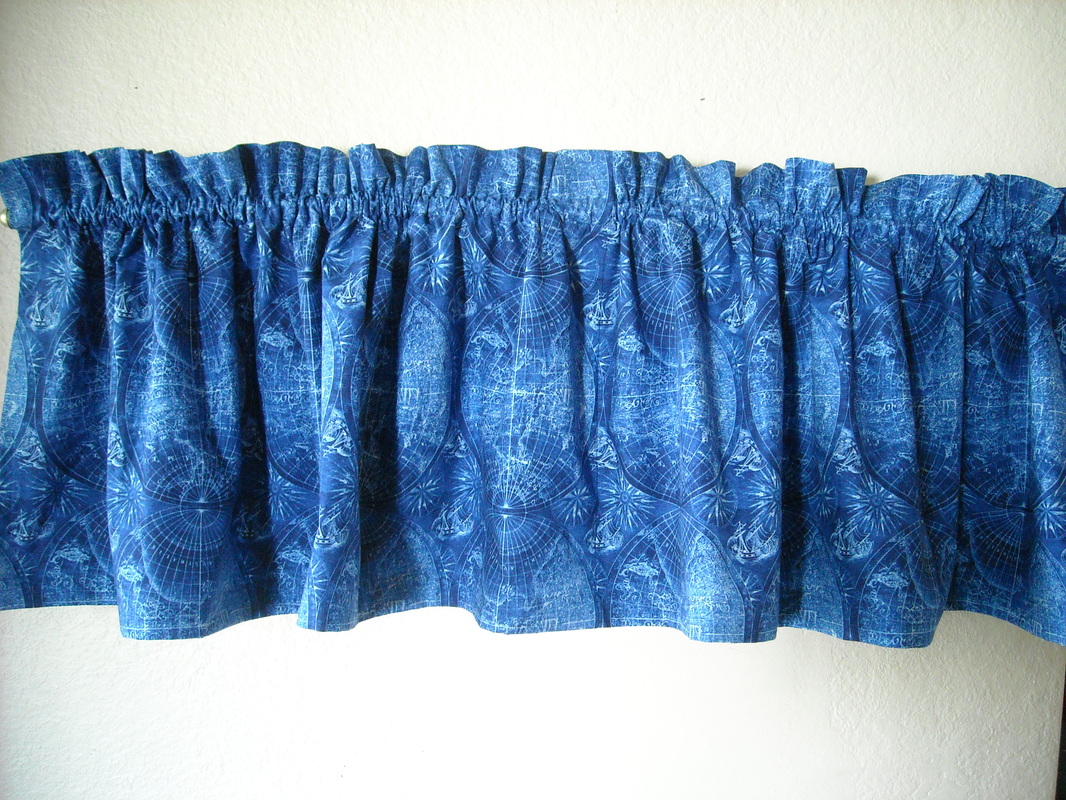
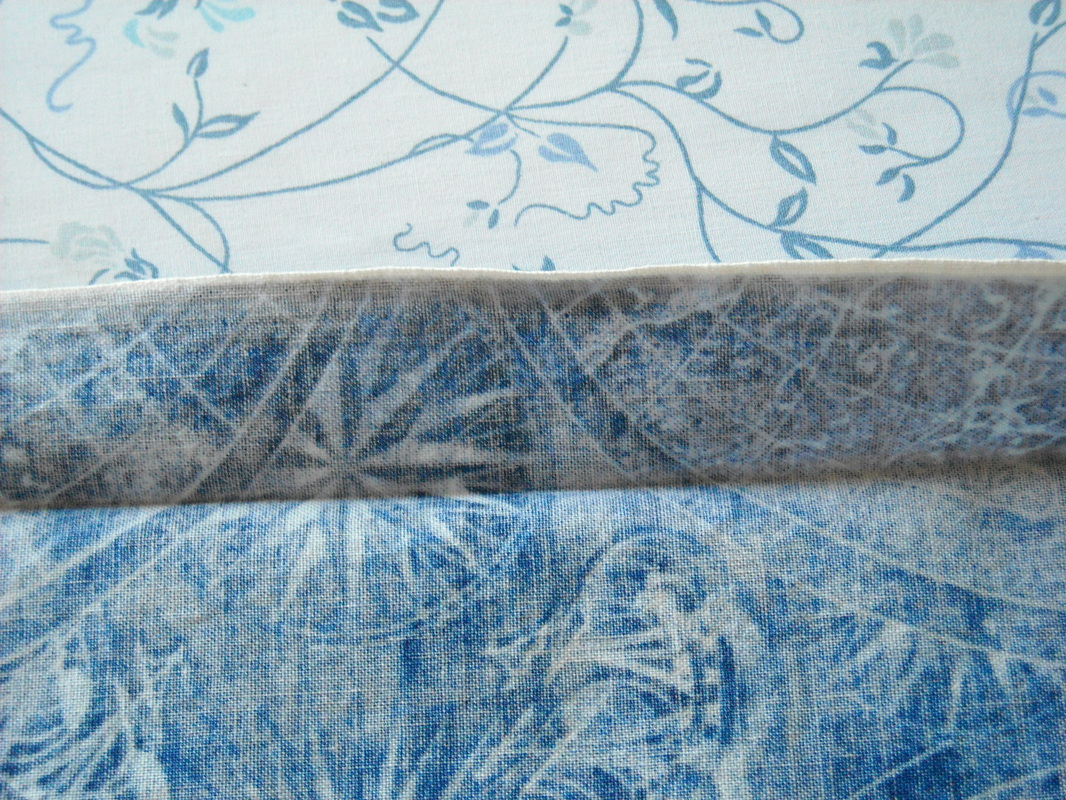
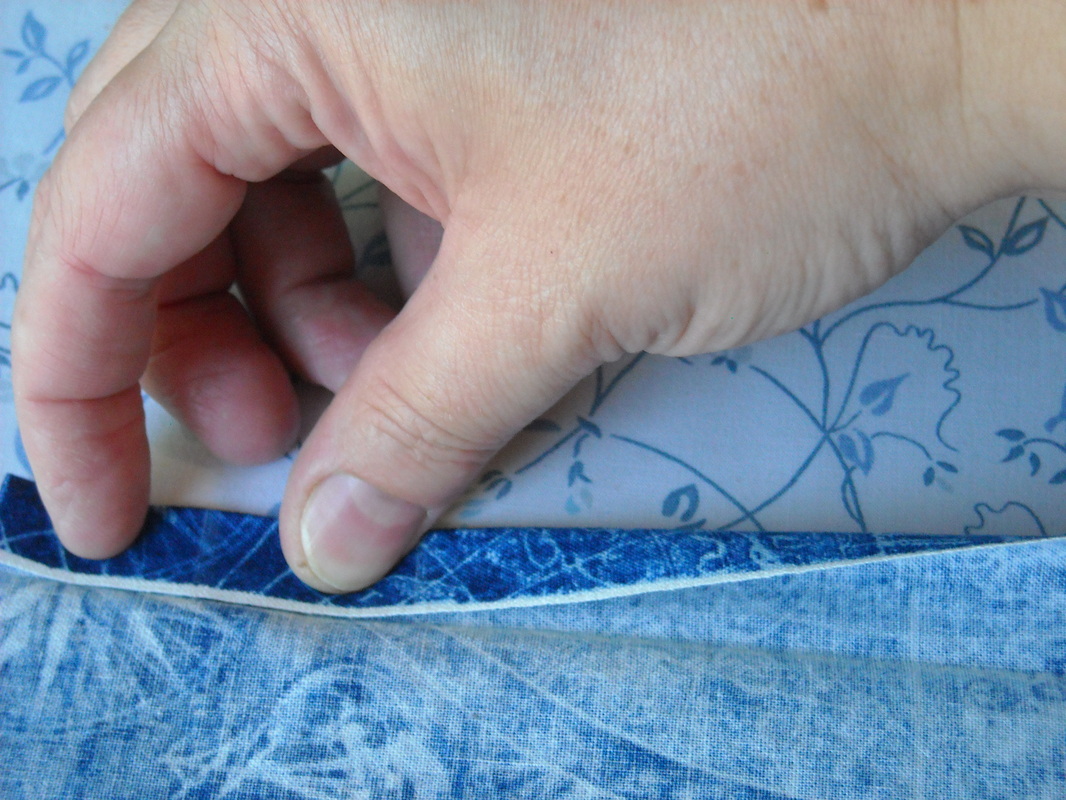
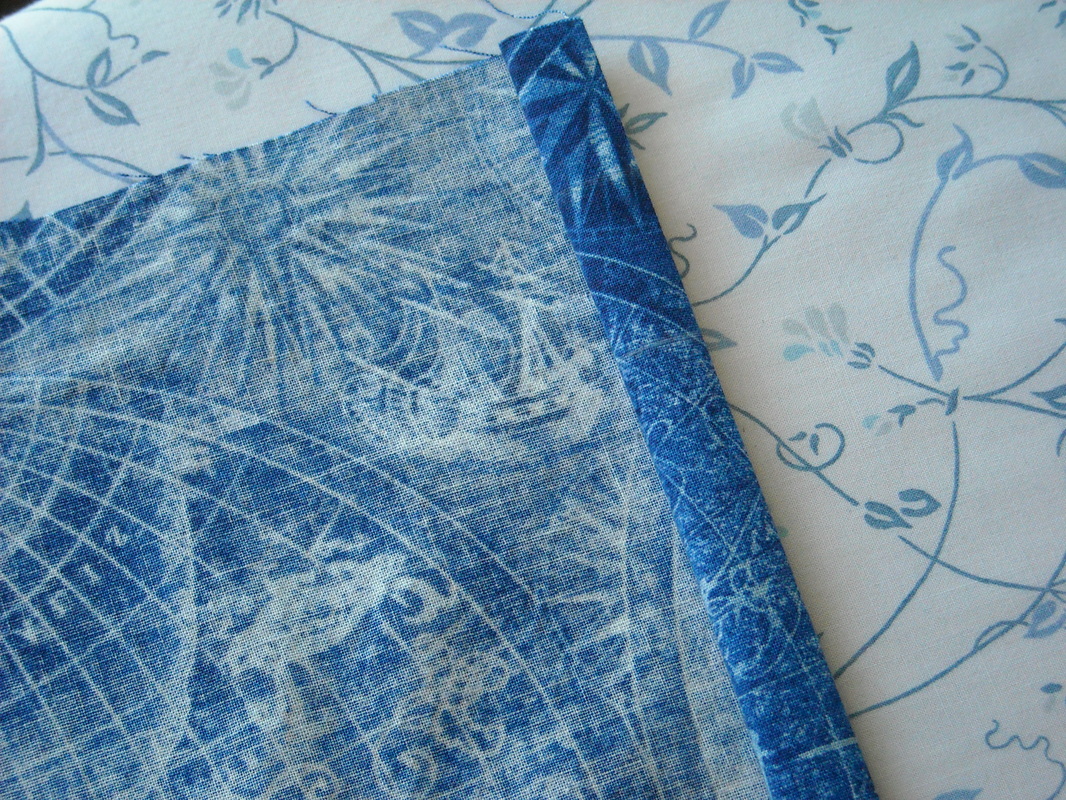
 Here is the fabric Tina chose for the living areas. Here is the fabric Tina chose for the living areas. This tutorial is for Tina. She is taking a huge leap in sewing by making new curtains for the camper she and her hubby are remodeling. We picked out the fabric on Saturday and she needs them completed before they hit the road in a mere 2 weeks. ...and I'm pretty sure I told her I'd post a curtain tutorial like 2 months ago... Not only have I procrastinated that for a while, I'll be sewing the valance for my teen's room that has been waiting for about 2 years. Yes. I'm THAT bad... Tina already has her fabric bought and cut so this tutorial will cover sewing only. I may post on how to calculate your materials if there is enough interest. You will need: Fabric Thread Yardstick or ruler (you will use this for measuring as well as a straight-edge) Chalk or fabric marking pen Iron Ironing board Straight pins Sewing machine and, of course, curtain rods for hanging your lovely new window treatments! To proceed you should have your material cut to finish size plus allowances for hems on all four sides. I like to use 1/2" double-fold hems for the sides, 1" for the bottom and the top can vary greatly depending on how you want it to look. This tutorial will show you how to make a top casing plus a header. Like this: 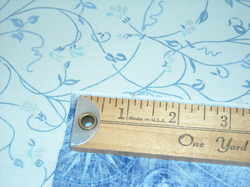 We will be starting with the hems on the sides. My yardstick is about 1" wide so I use that to measure. I lay it down on the fabric and use chalk to mark a line about 1" from the edge. 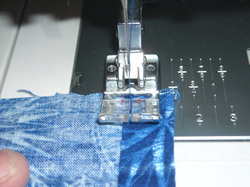 Bring the panels to the sewing machine and stitch. I set my machine to a straight stitch with a length of 3. The presser foot on my machine has a little red mark that I use a my guide. You can see in the photo that I could also follow the 1/2" stitching line guide that is on the throat plate of my machine. Find a spot on your set-up and keep it lined up along a folded edge for easy, straight stitching lines. Sew all sides and then we will proceed to the bottom hems in Part Two.
Have you made curtains before? Have you done any other home decor sewing?
0 Comments
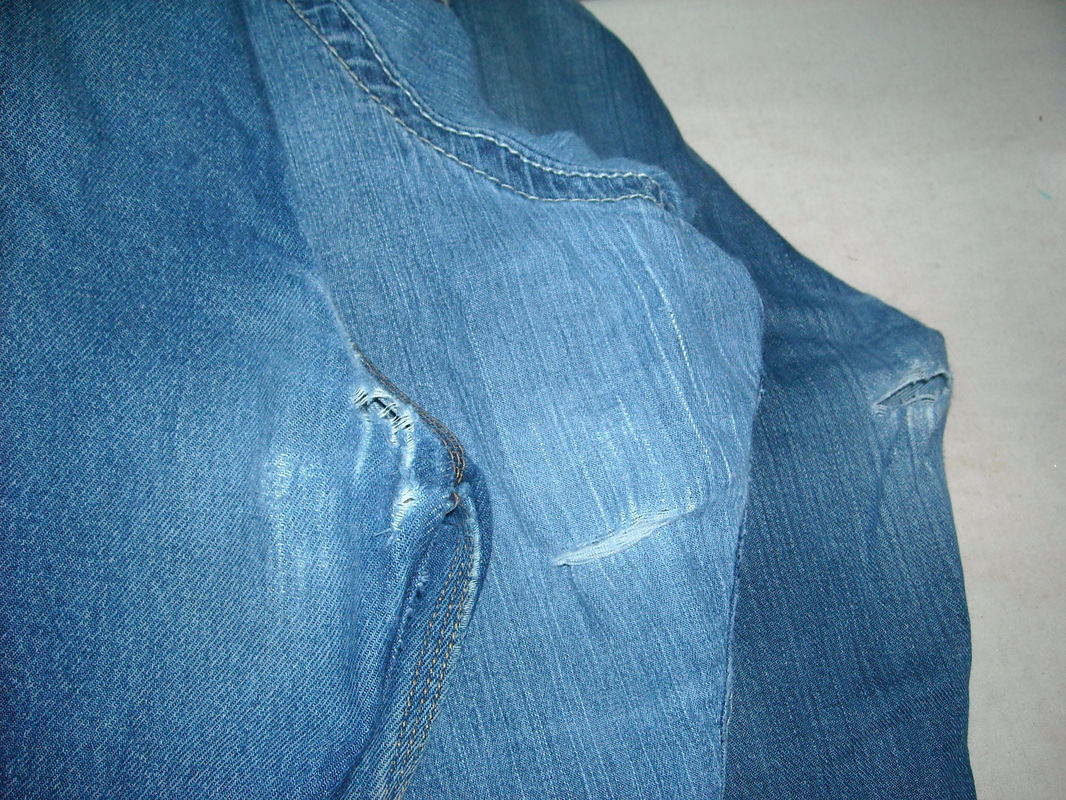
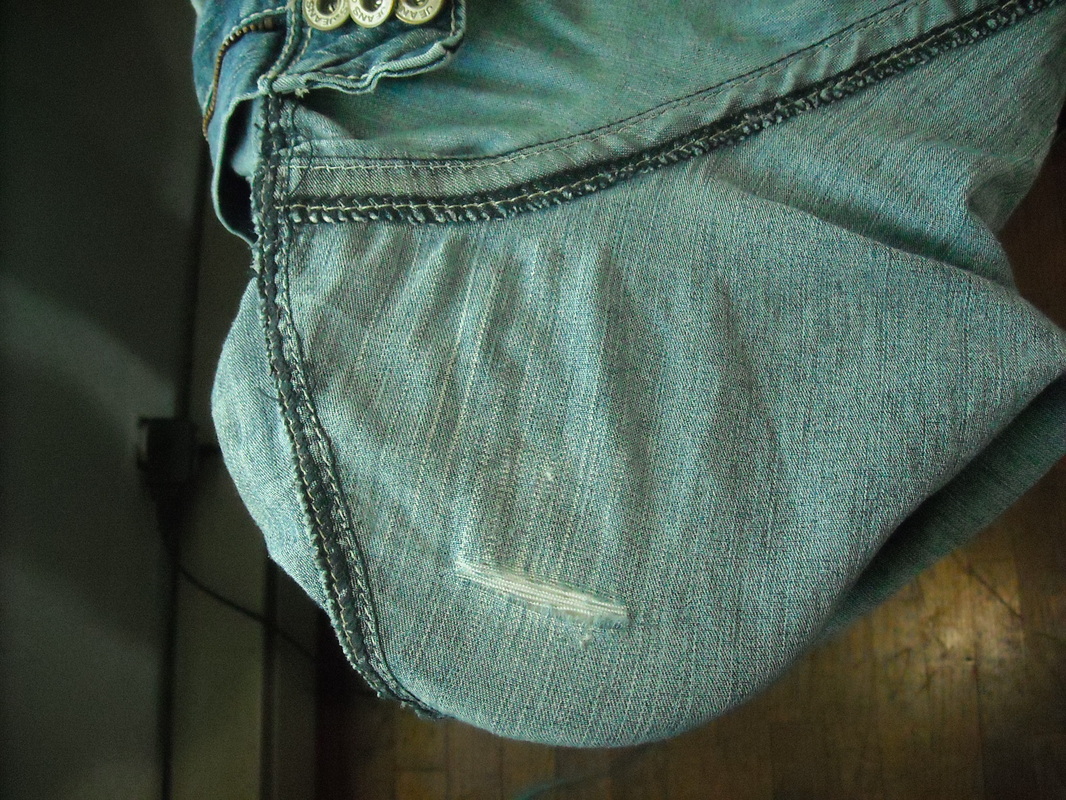
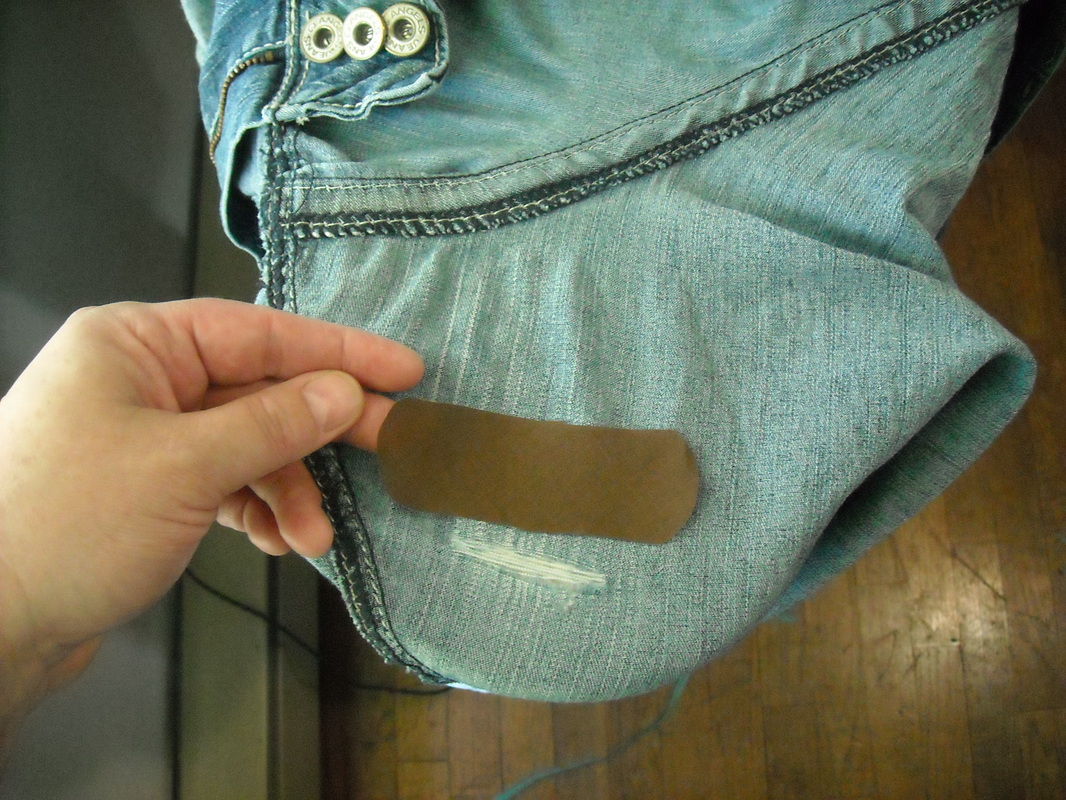
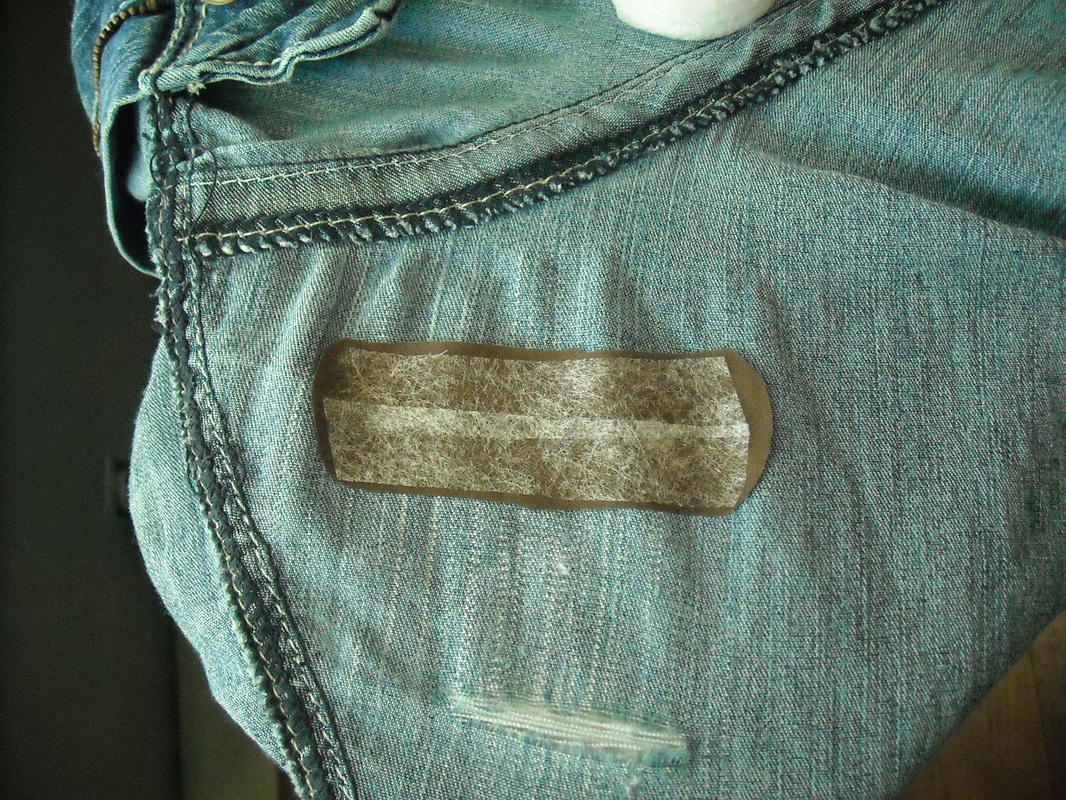
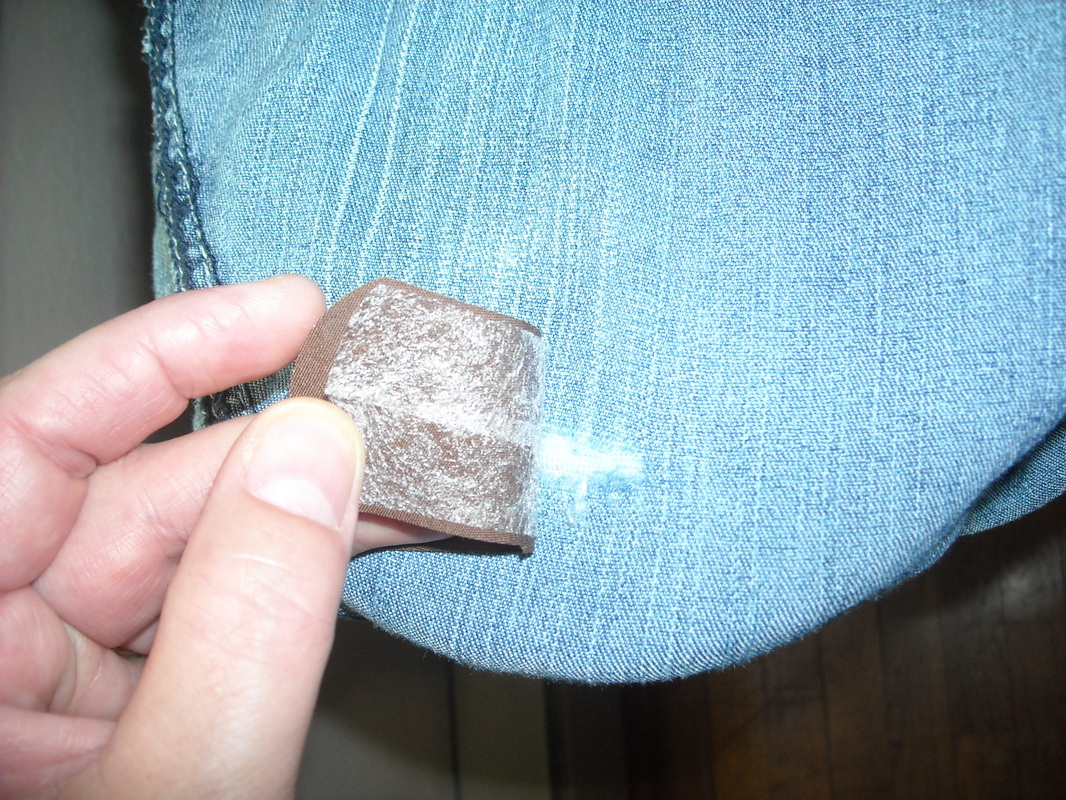
 Yeah, I can fix that! Yeah, I can fix that! -While distressed jeans are in style, there are times (and places!) where you may not want to show a little skin. If you have a hole or tear that you don't want, here's a tutorial on how to patch it the way the pros do ...or at least the way this pro does :) You will need: Patch fabric: I use scraps of denim if I have them. I didn't have any for this round so I just used a mid-weight woven cotton. Fusible webbing: I use the Stitch Witchery that comes on a roll like this but any fusible web will work and it doesn't really matter if it's regular or super strength. Thread: Match this as closely to your jeans as you can. I used Gutermann #233. It's a pretty good all-purpose denim color. Iron and Ironing board: A must for the fusible web. :) Gather your materials and meet me below. I have had these 3 pairs of jeans needing to be fixed for a while. I've been procrastinating because I'm really good at talking myself into things being a WAY bigger hassle than they actually are. I was motivated to finally get them done by this Renegade Seamstress posting and the desperate begging of my teen because he was down to only one pair of jeans...and patching is far less $$$ (and less hassle) than buying a new pair! 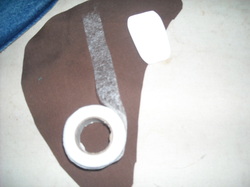 Here are my supplies. The brown fabric is what I used for the patches. If you don't have denim, use something about the thickness of a bed sheet. The spool is fusible web. The white blob is tailor's chalk that I use for marking. It disappears from most fabrics when ironed. 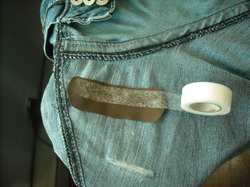 Cut strips of fusible web to cover the patch. You can cut it with scissors but I often just tear the strips and tuck in any strings that want to poke out from under the patch. 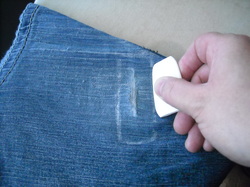 Press the patch to fuse in place. Turn your pants right side out. Mark the edges of the patch with tailor's chalk or pins. 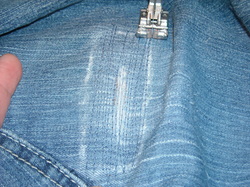 Denim has a distinct weave to it and I like to sew cross-wise to the weave pattern first. Using a straight stitch and the reverse button, fill in the area of the patch going this direction.
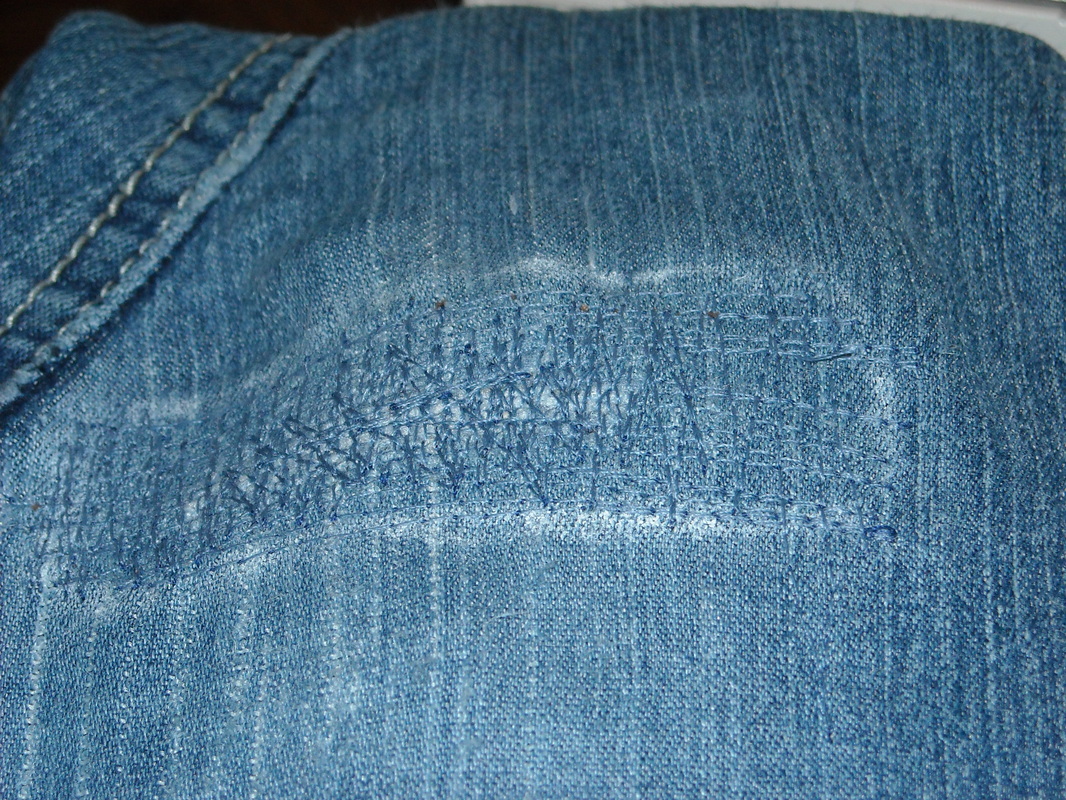
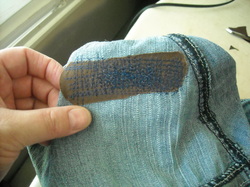 Here is the back side of the repair. The stitching is clearly visible against the brown fabric. As are the places where I sewed outside the lines :) I was low on my top thread color so just used navy for the bobbin thread. 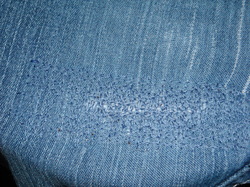 Press the patched area. This removes the chalk markings and seats the stitches into the fabric. It also melts the fusible into the threads. That's it! A patch that is barely visible and will stand up to many more wearings and washings.
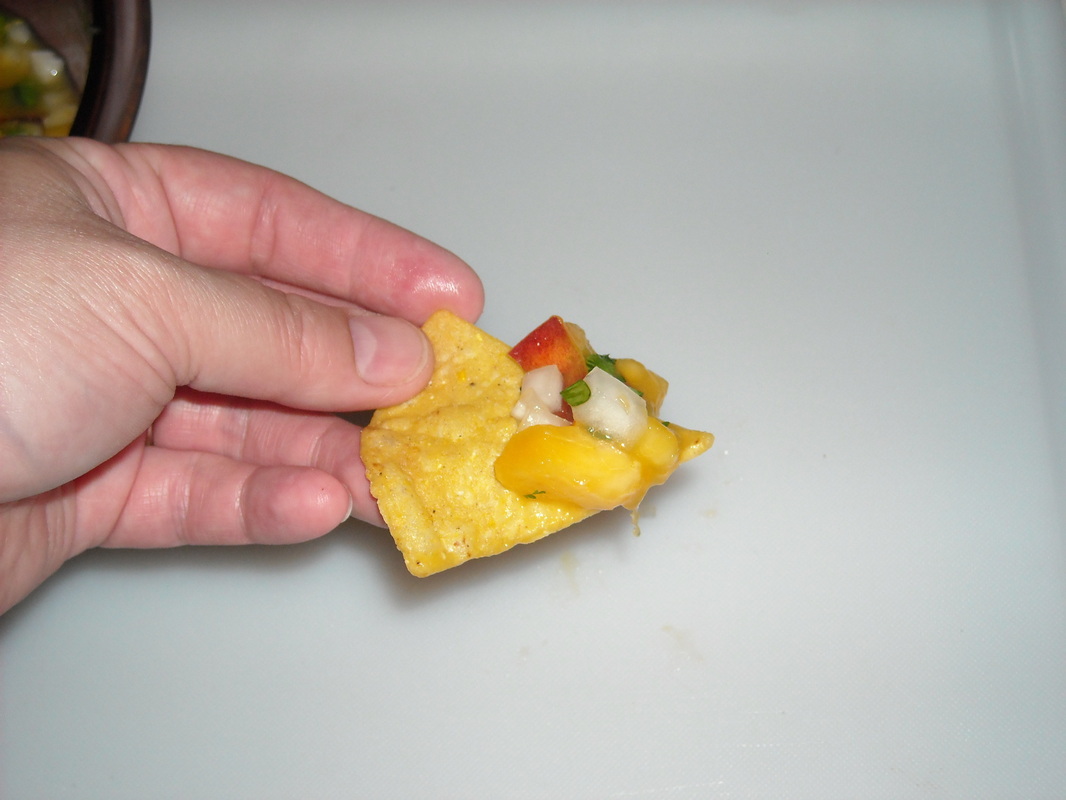
If you follow this tutorial, I'd love to hear your feedback on it. What do you have waiting in your 'to do' pile?  Okay, so I craft food, too :) This is quick and so delicious! This batch was made using nectarines. I've also made it using mangoes. Other options I've thought of are peaches and pineapple. I imagine any sweet/tart/firm fruit would work. Fruit Salsa 4 nectarines 1/2 large white onion 1/2 bunch of cilantro juice from 1 1/2 limes 1/2 teaspoon of salt optional: 1/2 of a jalapeno, minced  Dice up the fruit and the onion. Chop the cilantro. Remove veins and seeds from jalapeno before mincing it, unless you like a lot of heat (I don't!). I also wear gloves. Put all ingredients in a bowl. Add salt and lime juice and mix it up. This is fantastic on fish tacos or with chips. Nom! Nom! Nom! We had ours on taco salad tonight. If you try this recipe, I'd love to hear how it turns out.
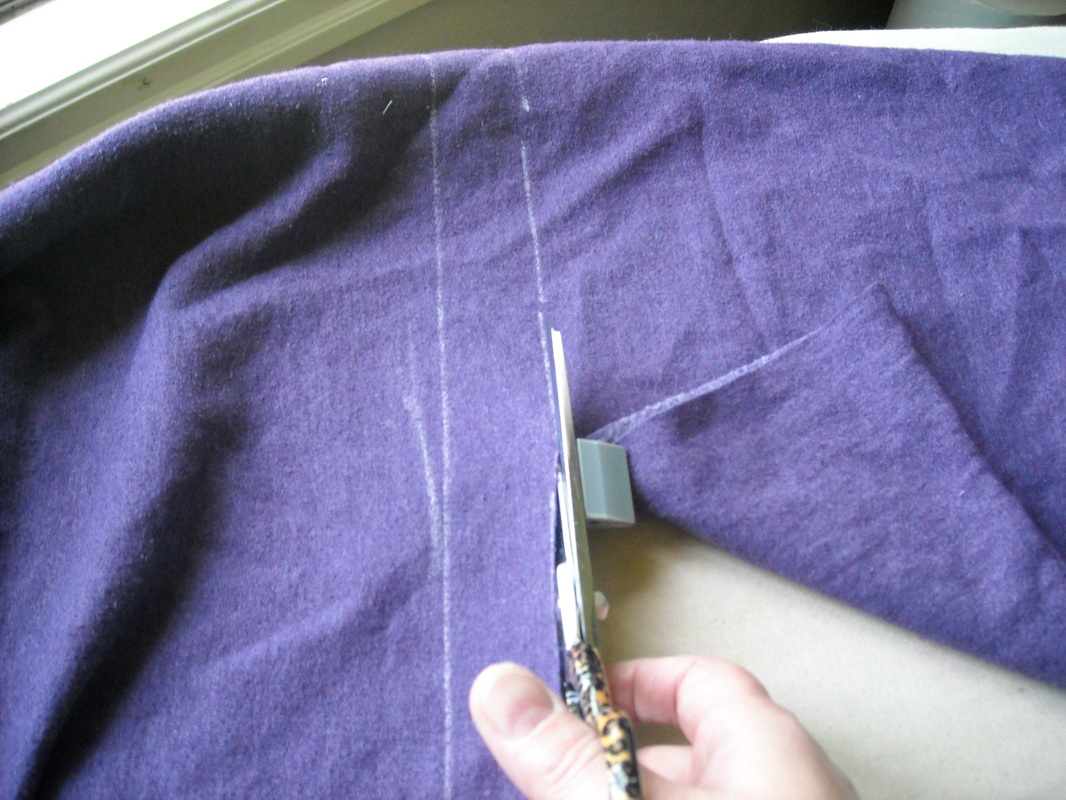
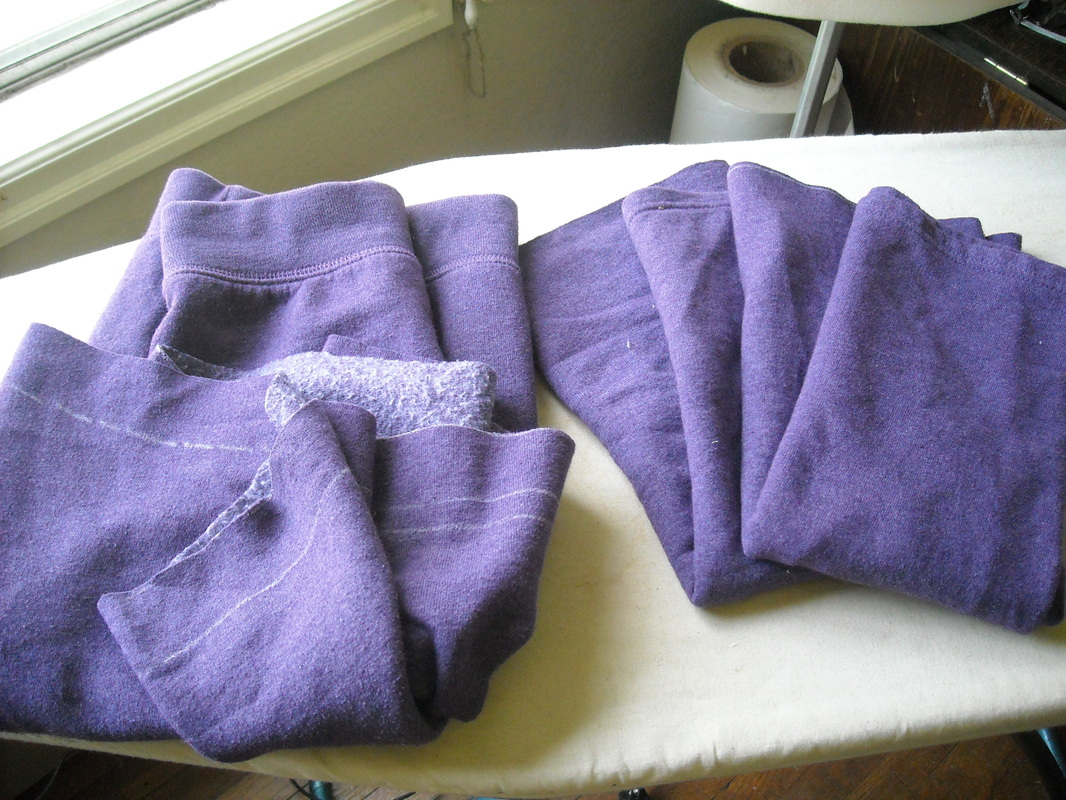
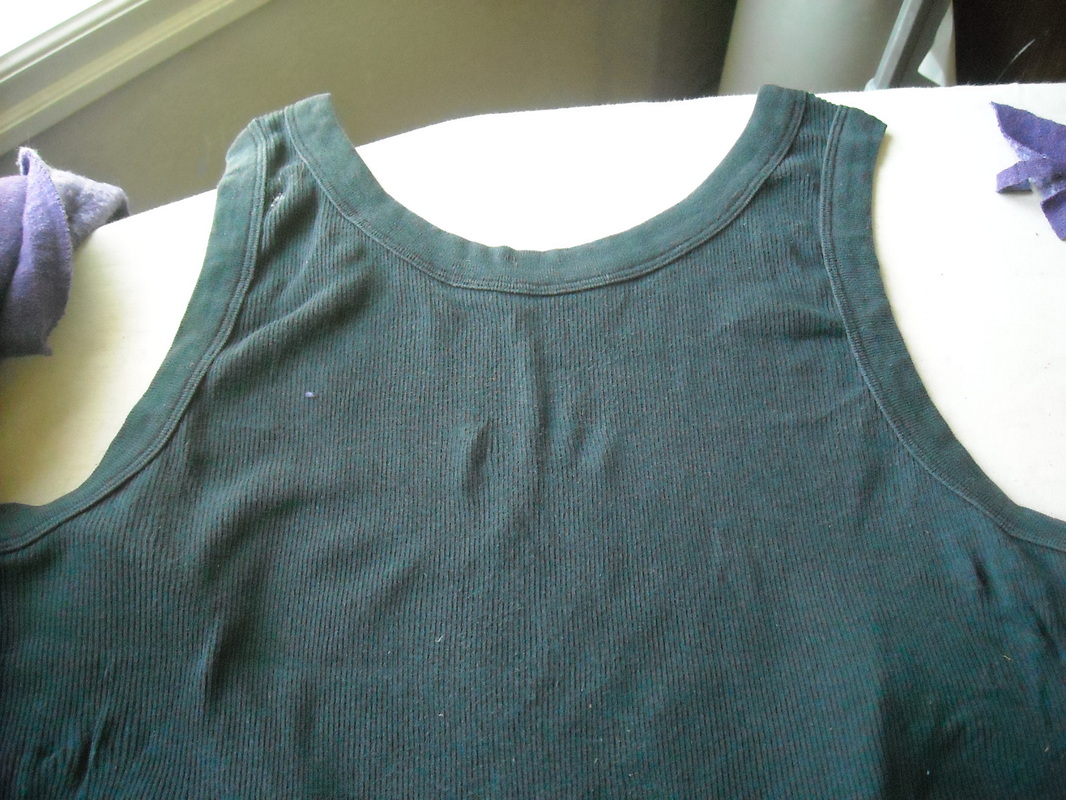
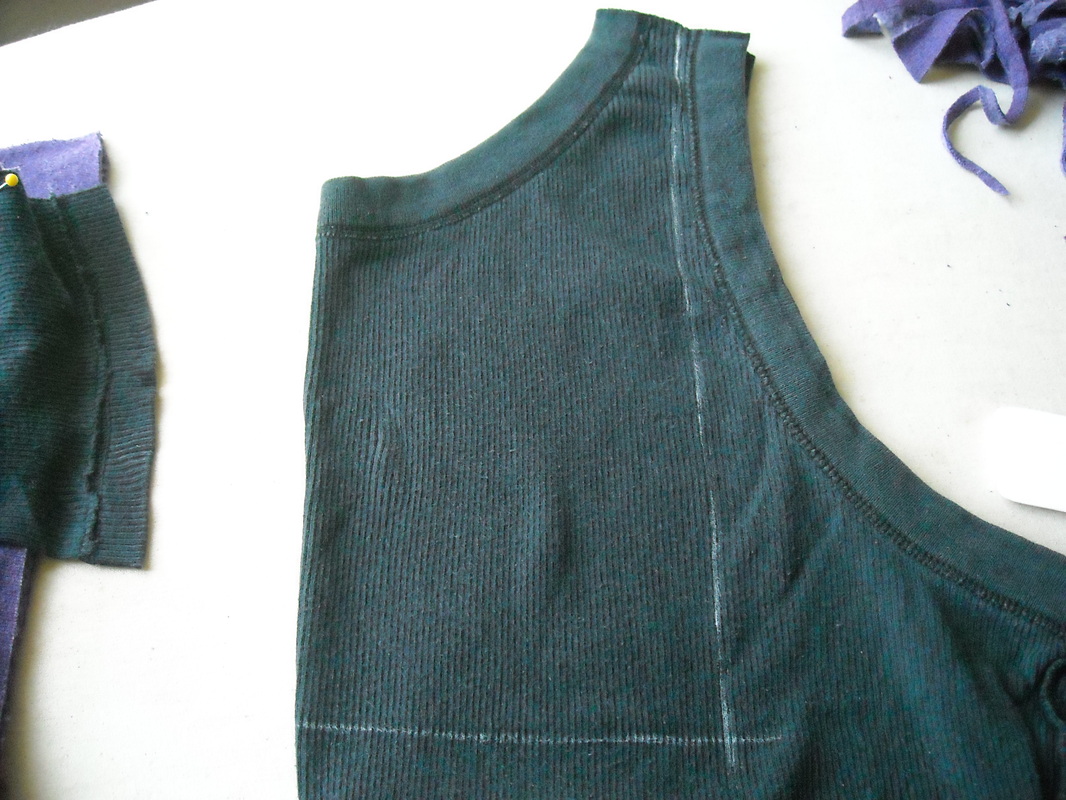
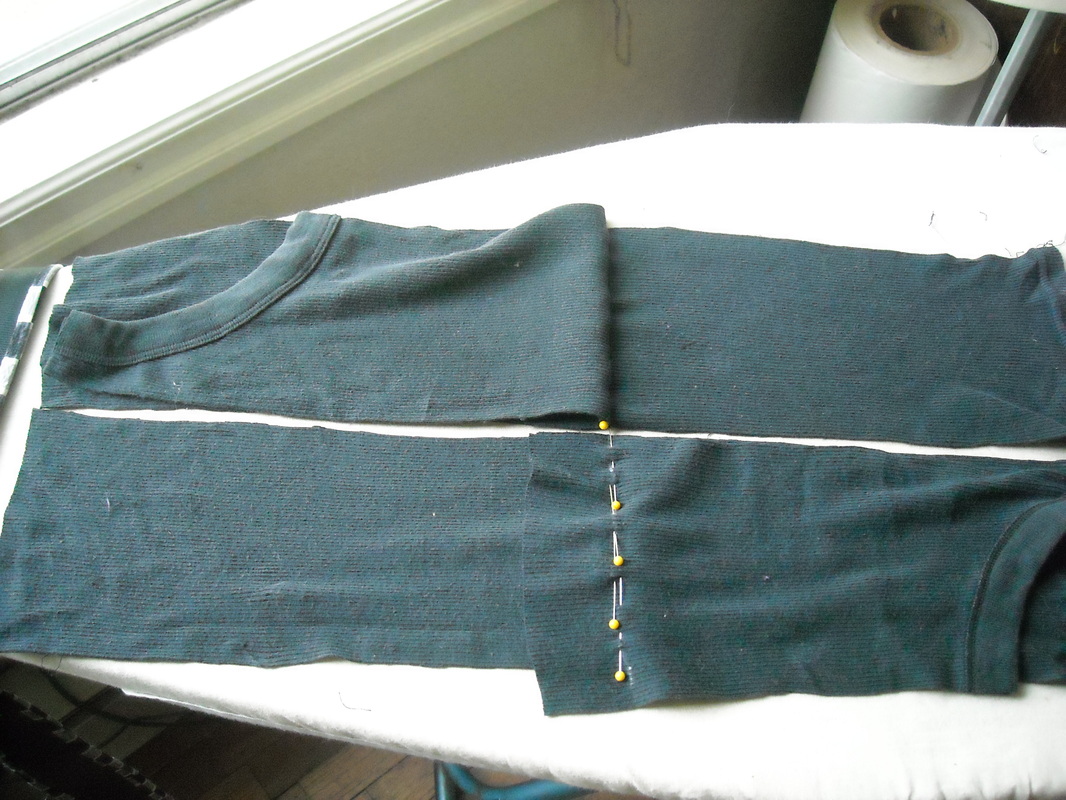
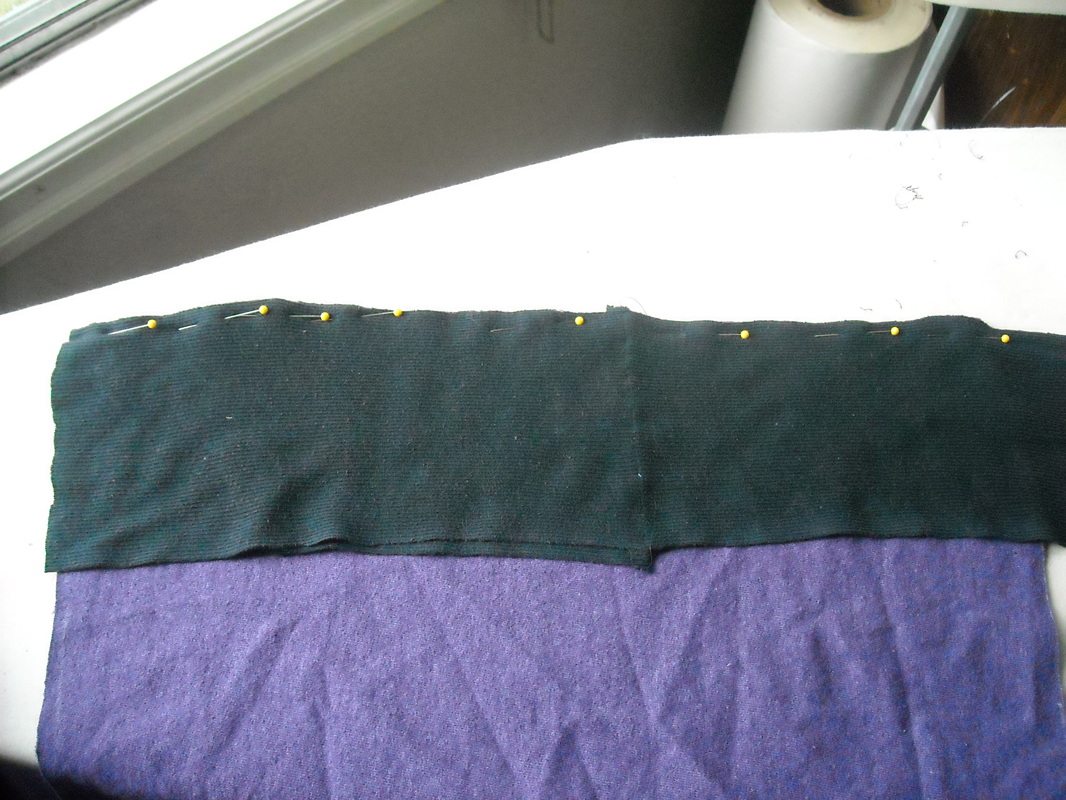
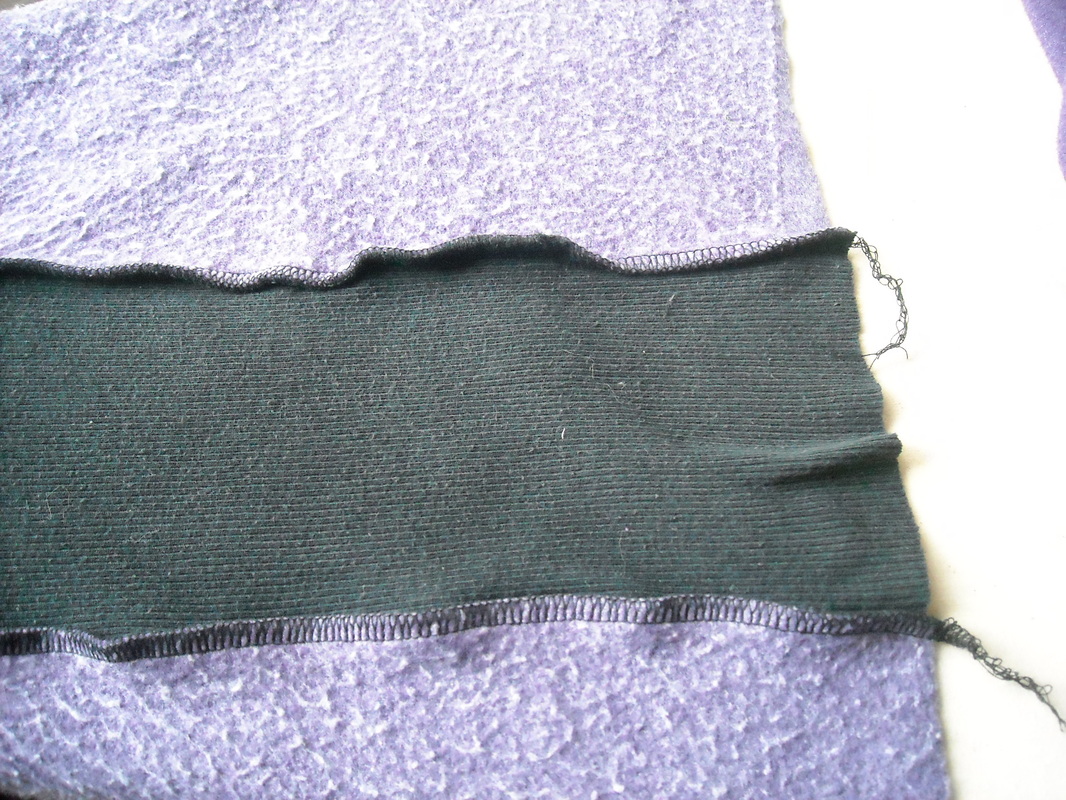
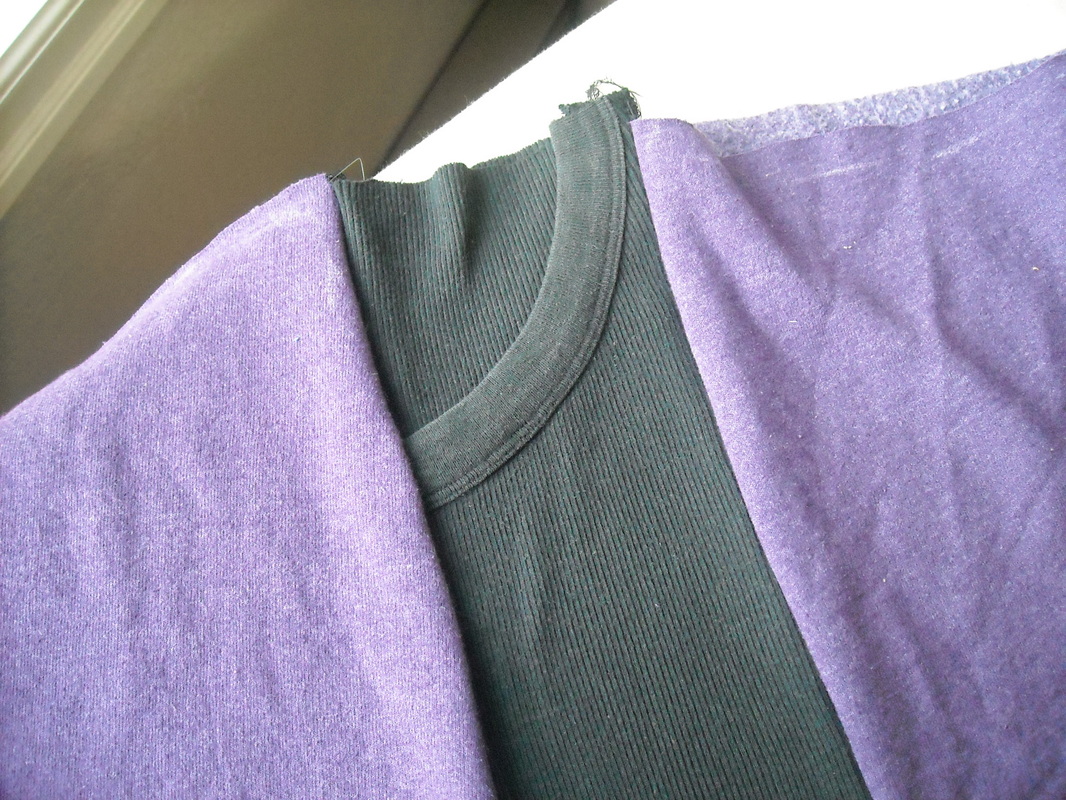
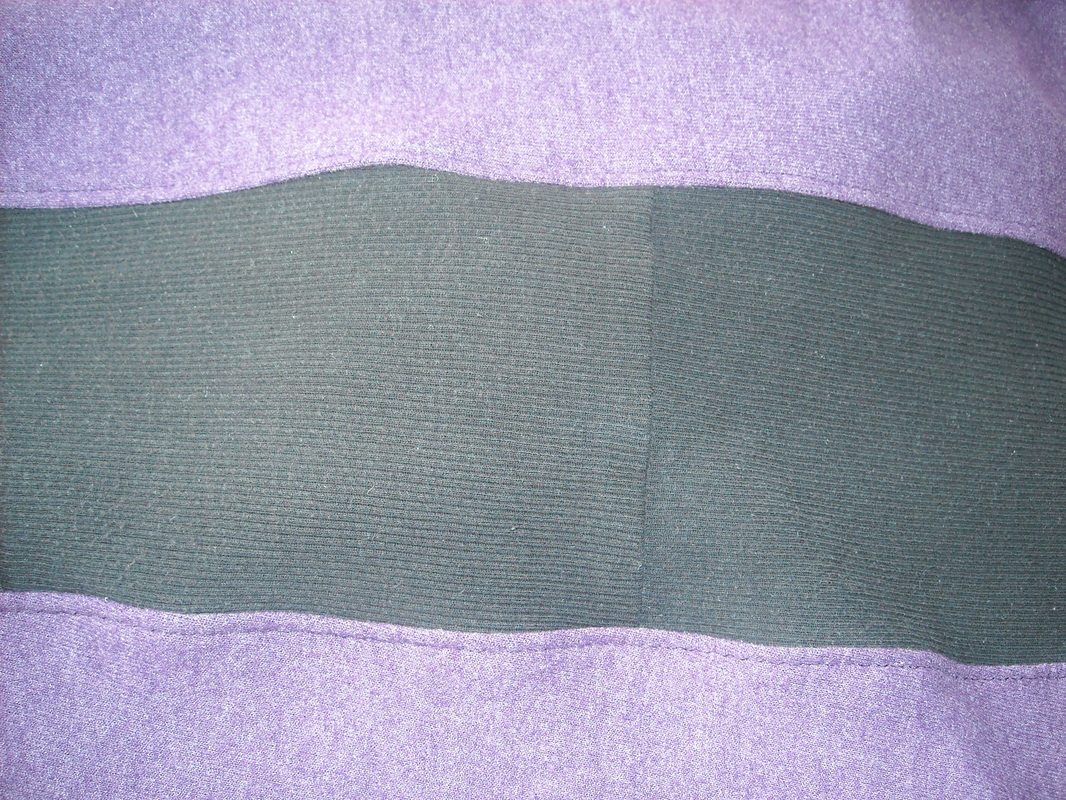
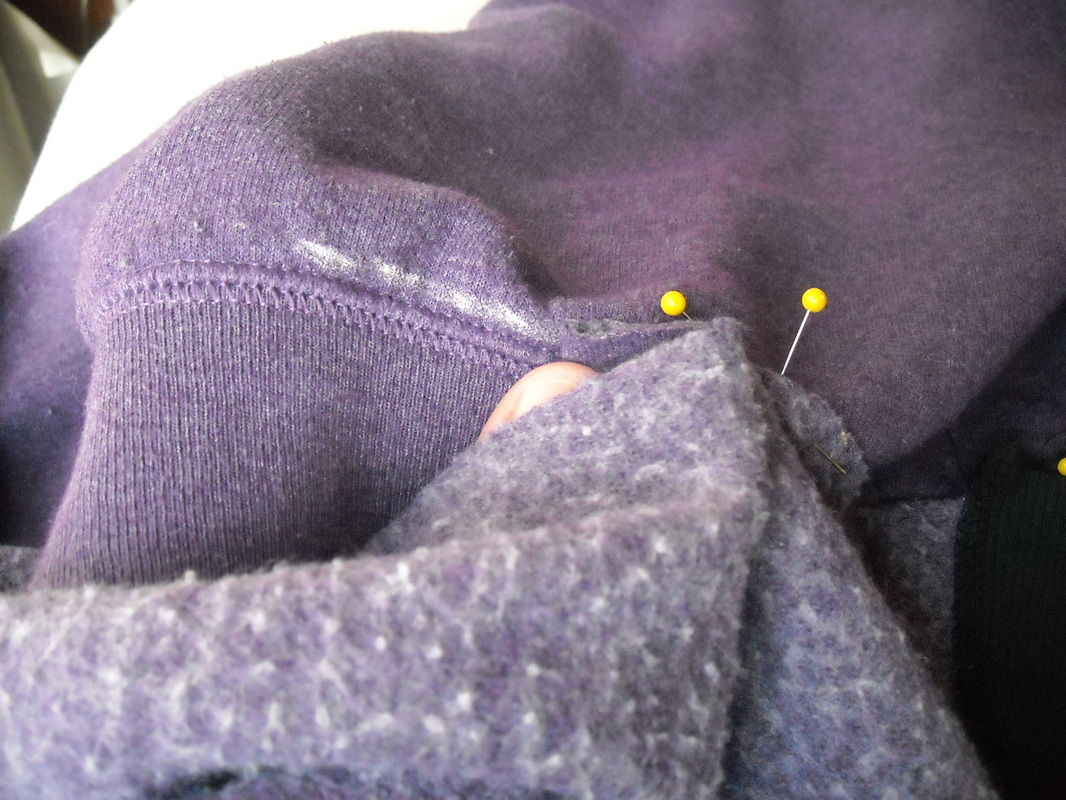
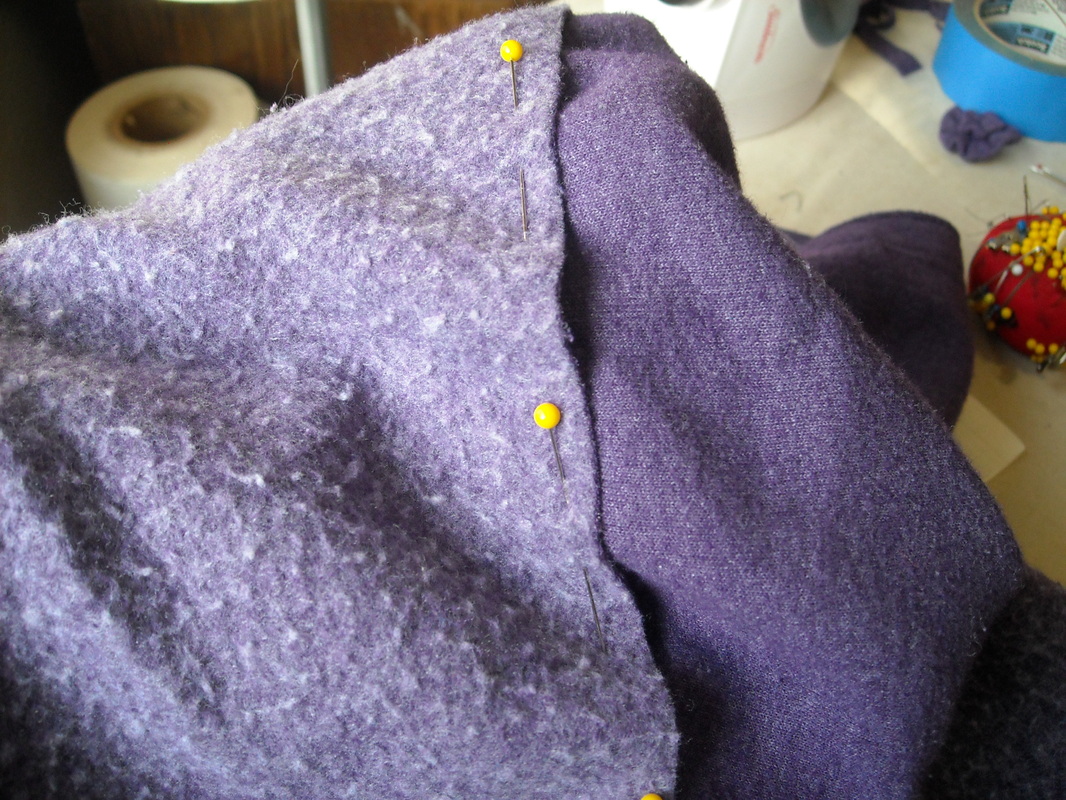
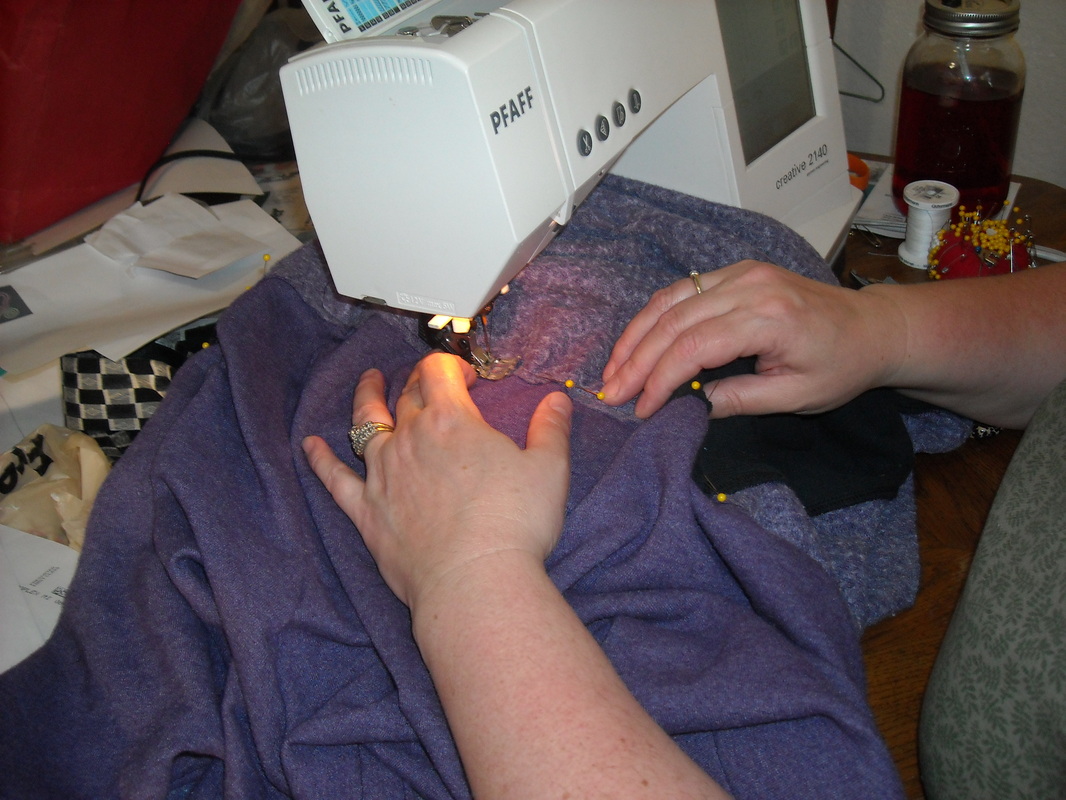
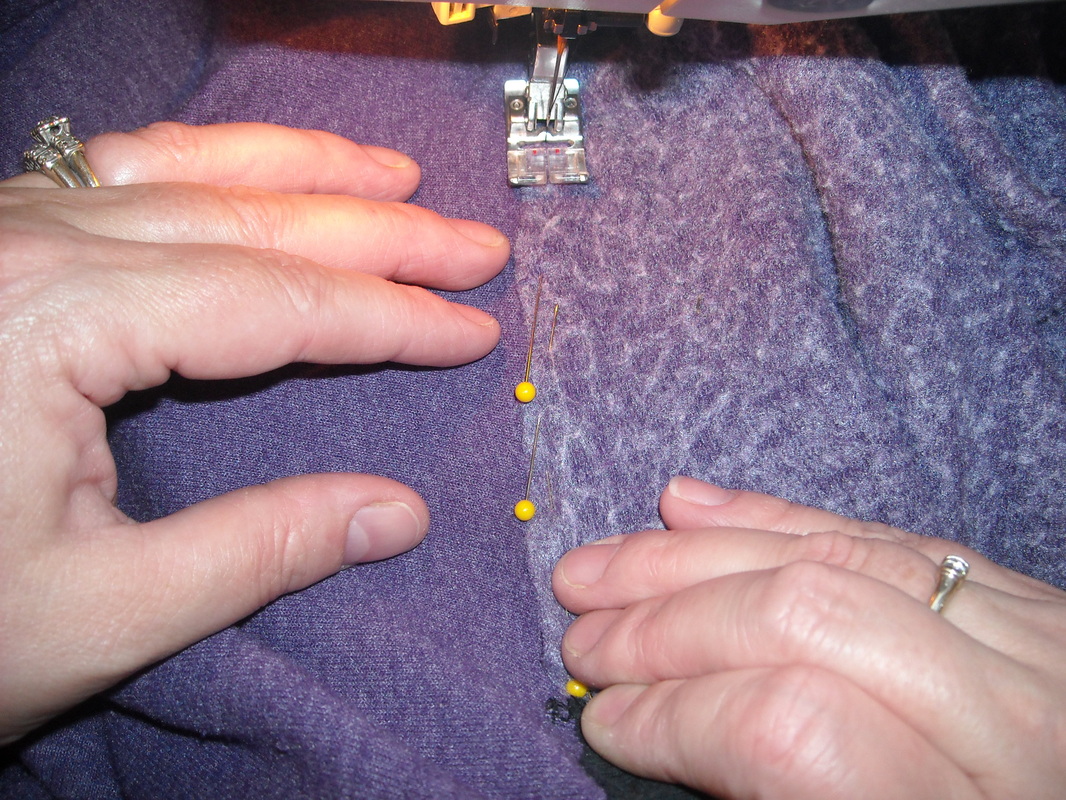
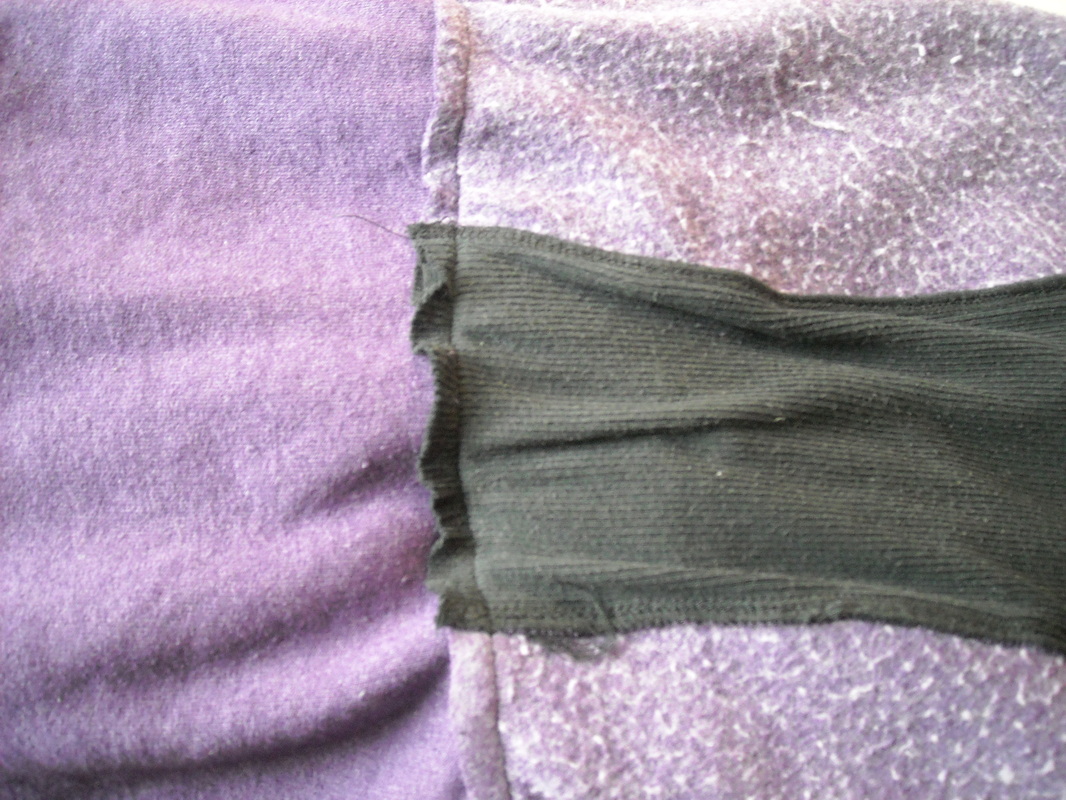
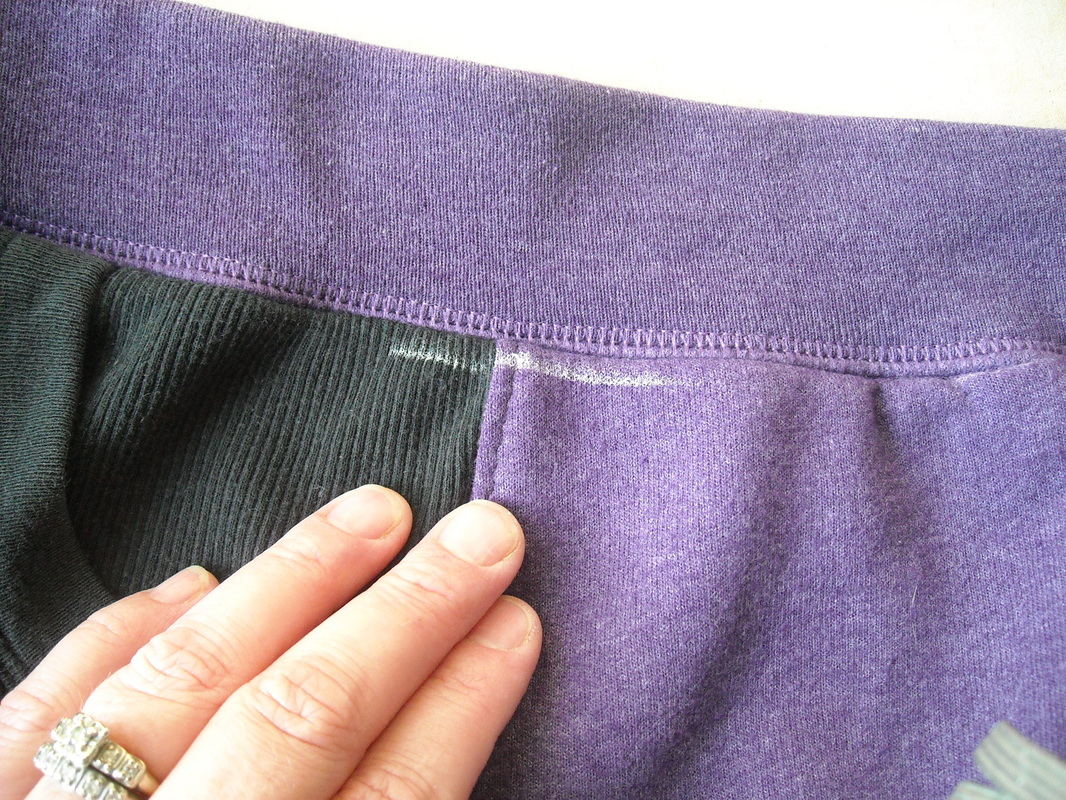
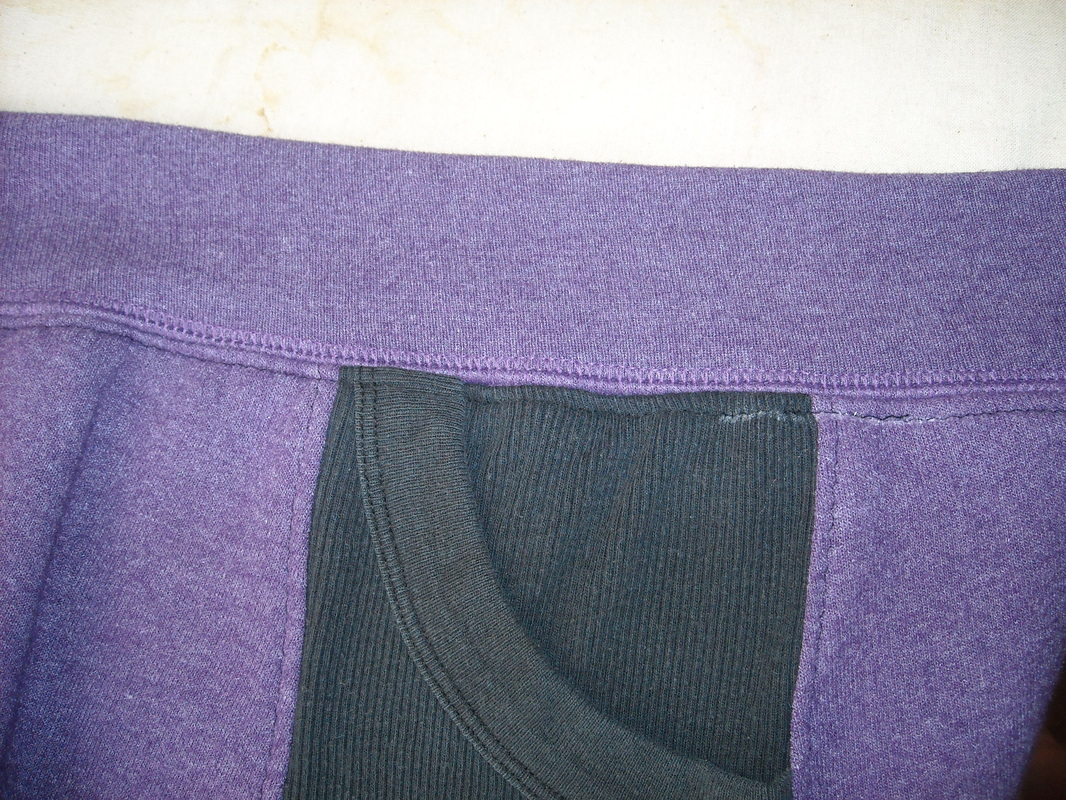
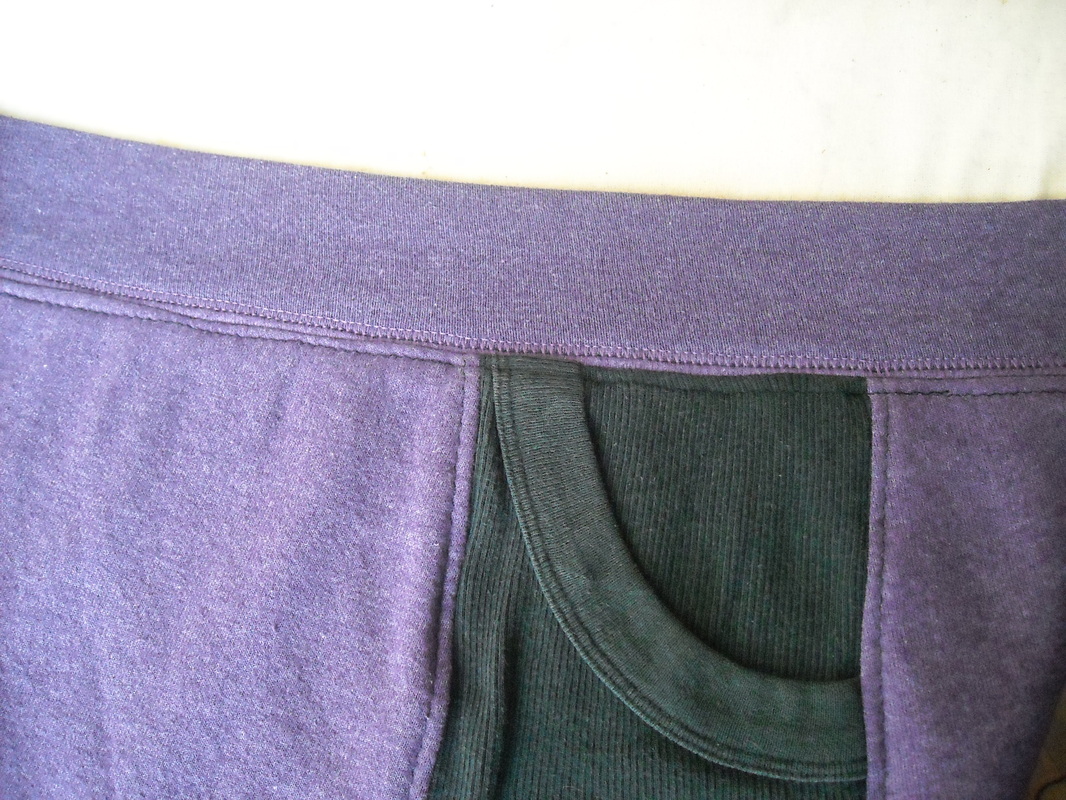
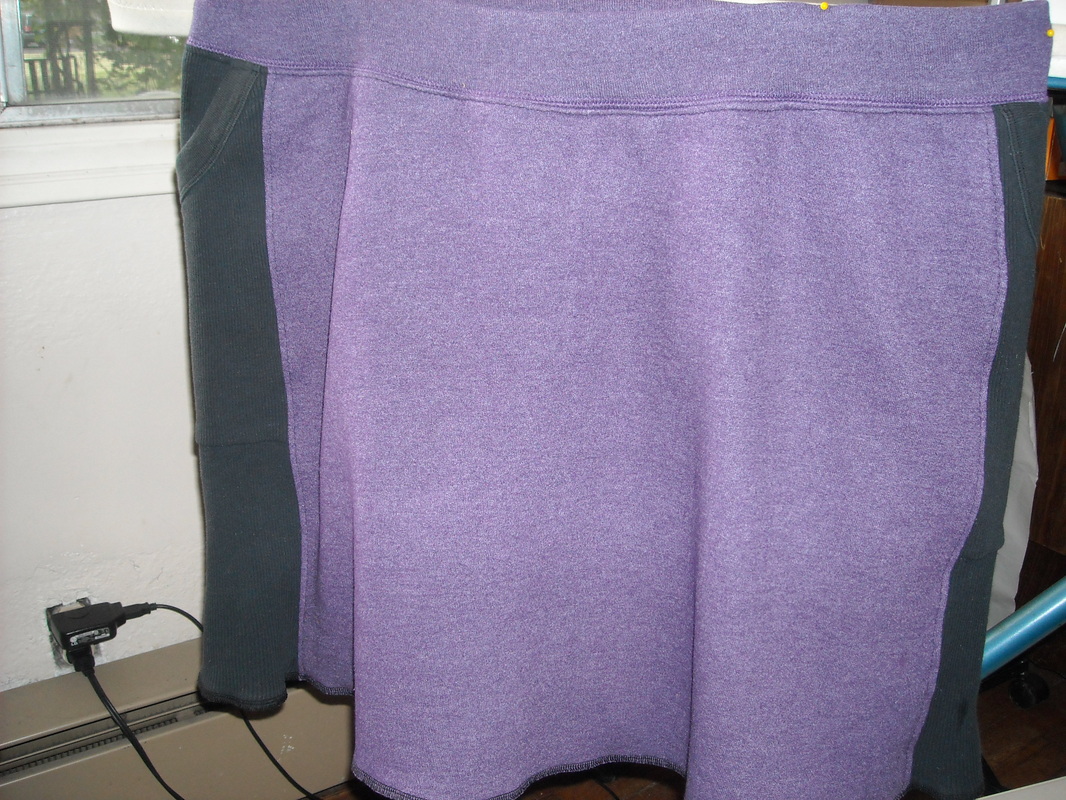
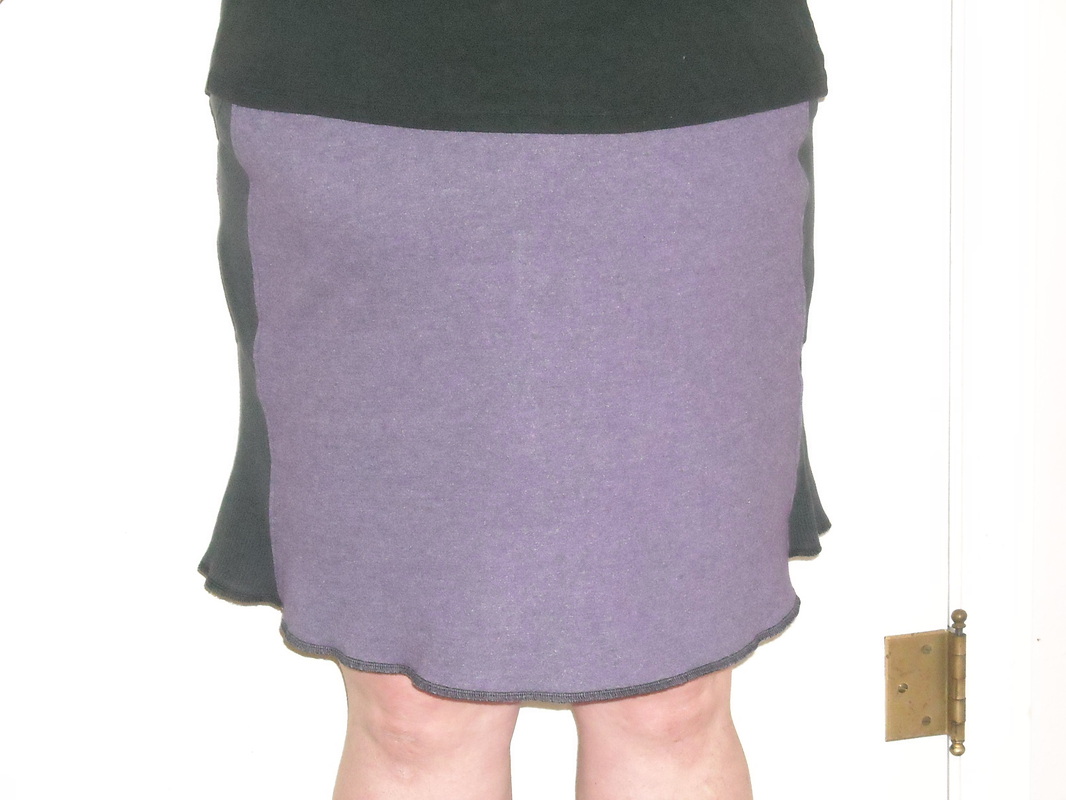
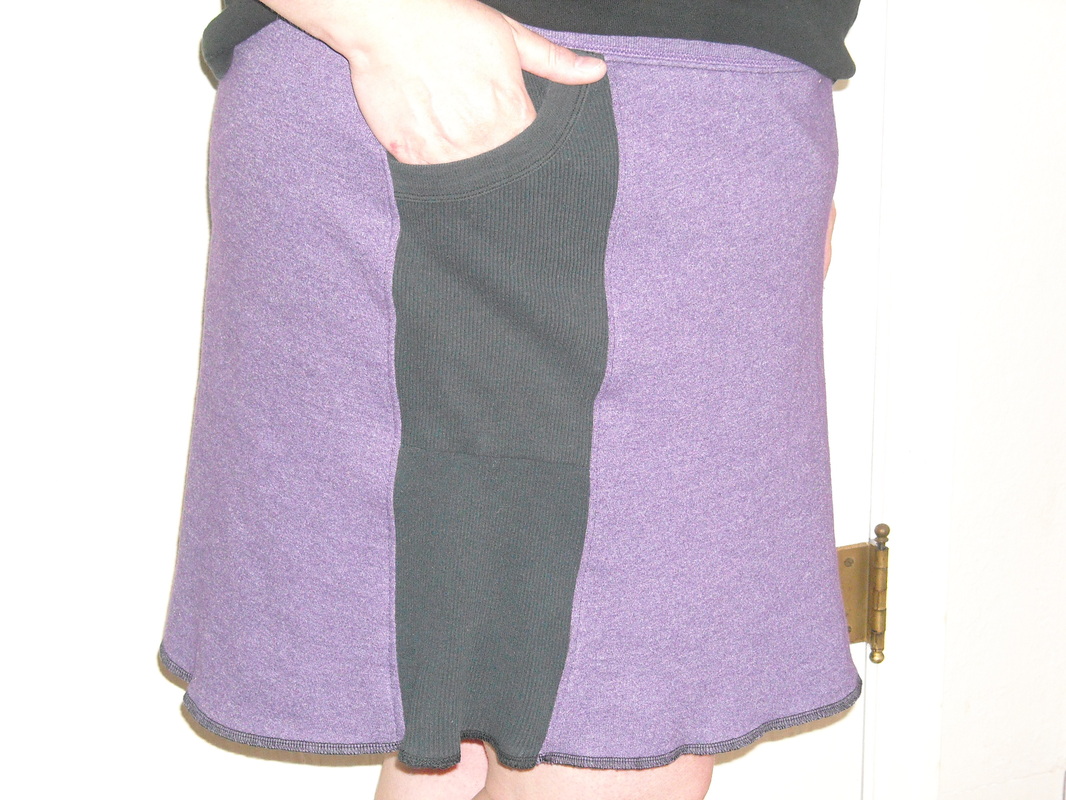
If you see an apparent lack of jalapenos, it's just because I'm a huge chicken when it come to hot food. I don't like my food to hurt me when I eat it. I figure those in my house who want heat in their food can add some hot sauce to theirs and leave mine alone. ; } How about you? Do you and your family like spicy or no spicy? 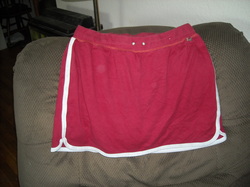 I have a skort that I found at a thrift shop. It's comfy and fits well and it's cute. I love it. So when I was thinking of refashioning a pair of sweats I no longer wore, I decided they were a great candidate for new skorts. 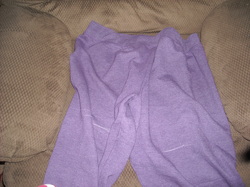 These purple sweats shrunk to high-waters the very first time I washed them and were just taking up space in my drawers. I marked them where I wanted the shorts to end and planned on using the leg portions to make the skirt overlay. I cut the legs off, cut open the leg fabric, and found an old tank to harvest for side insets. I cut as wide of a rectangle as I could from the back of the tank, then cut that rectangle in half lengthwise so I ended up with two long rectangles about 6 inches wide. I also decided to use part of the tank top front to add some pockets! 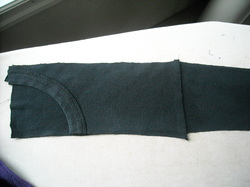 I placed the right sides of pocket and inset together, stitched across the bottom edge of the pocket and flipped the pocket right side up 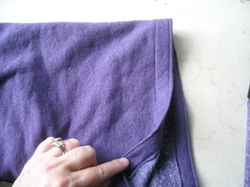 I hemmed the shorts section by folding the hem where I had marked it, sewing 1" from the folded edge using a narrow zigzag, then trimming off the excess fabric to the stitch line. I also stitched at the bottom edge to keep it all laying flat. 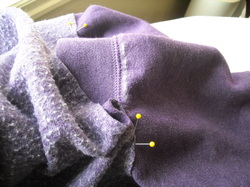 I placed the skirt rights sides together with the shorts and the skirt hem flipped up. I wanted the top seam to be just under the existing waistband seam. I tried to mark the line I was aiming for in white so it was easier to see. Pin all around waistband and stitch with the narrow zigzag. 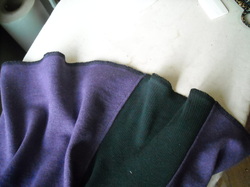 I finished the hem with a serged edge and stretched it some as I sewed to give a little bit of a wave to the edge. I'm pretty pleased with this and I know I'll be wearing this skort way more frequently than I did those sweats.
I'll be showing it off tomorrow at a birthday party. Until next time, take care and be excellent to each other! ~; }  As I launch this venture I'd like to share my projects, ideas, creations, and random thoughts with you. Hopefully we will connect, learn new things, and enjoy our time together. A little about me: I'm a wife of one and mother of three. Right now the kids are 17, 11, and 9. I live in Oregon's beautiful Willamette Valley. Yes, it rains a lot here, but that's why it's all so green and lovely. I am a crafter of all sorts of things. I love creating with whatever inspires me at the moment. Fabric, yarn, paper, food, paint, pencil, frosting...you name it, I've probably tried crafting with it. I love comedy, am perpetually 5 minutes late, and passionately -but imperfectly- follow the teachings of Jesus. |



 RSS Feed
